
Stone Path Pumpkin | Free Amigurumi Crochet Pattern | DYO x CO
Meandering through old town Perugia are the most wonderful stone paths that connect us to history, art, and one another. Stone paths lead you on an adventure in this part of town. Along one alleyway you can find makers of all types and hidden gems of centuries-old art. Down another path you’ll discover local cuisine and intimate museums. They make my wanderlust sing with joy!

PATTERN OVERVIEW
Difficulty
Intermediate
Finished Measurements (inches/cm)
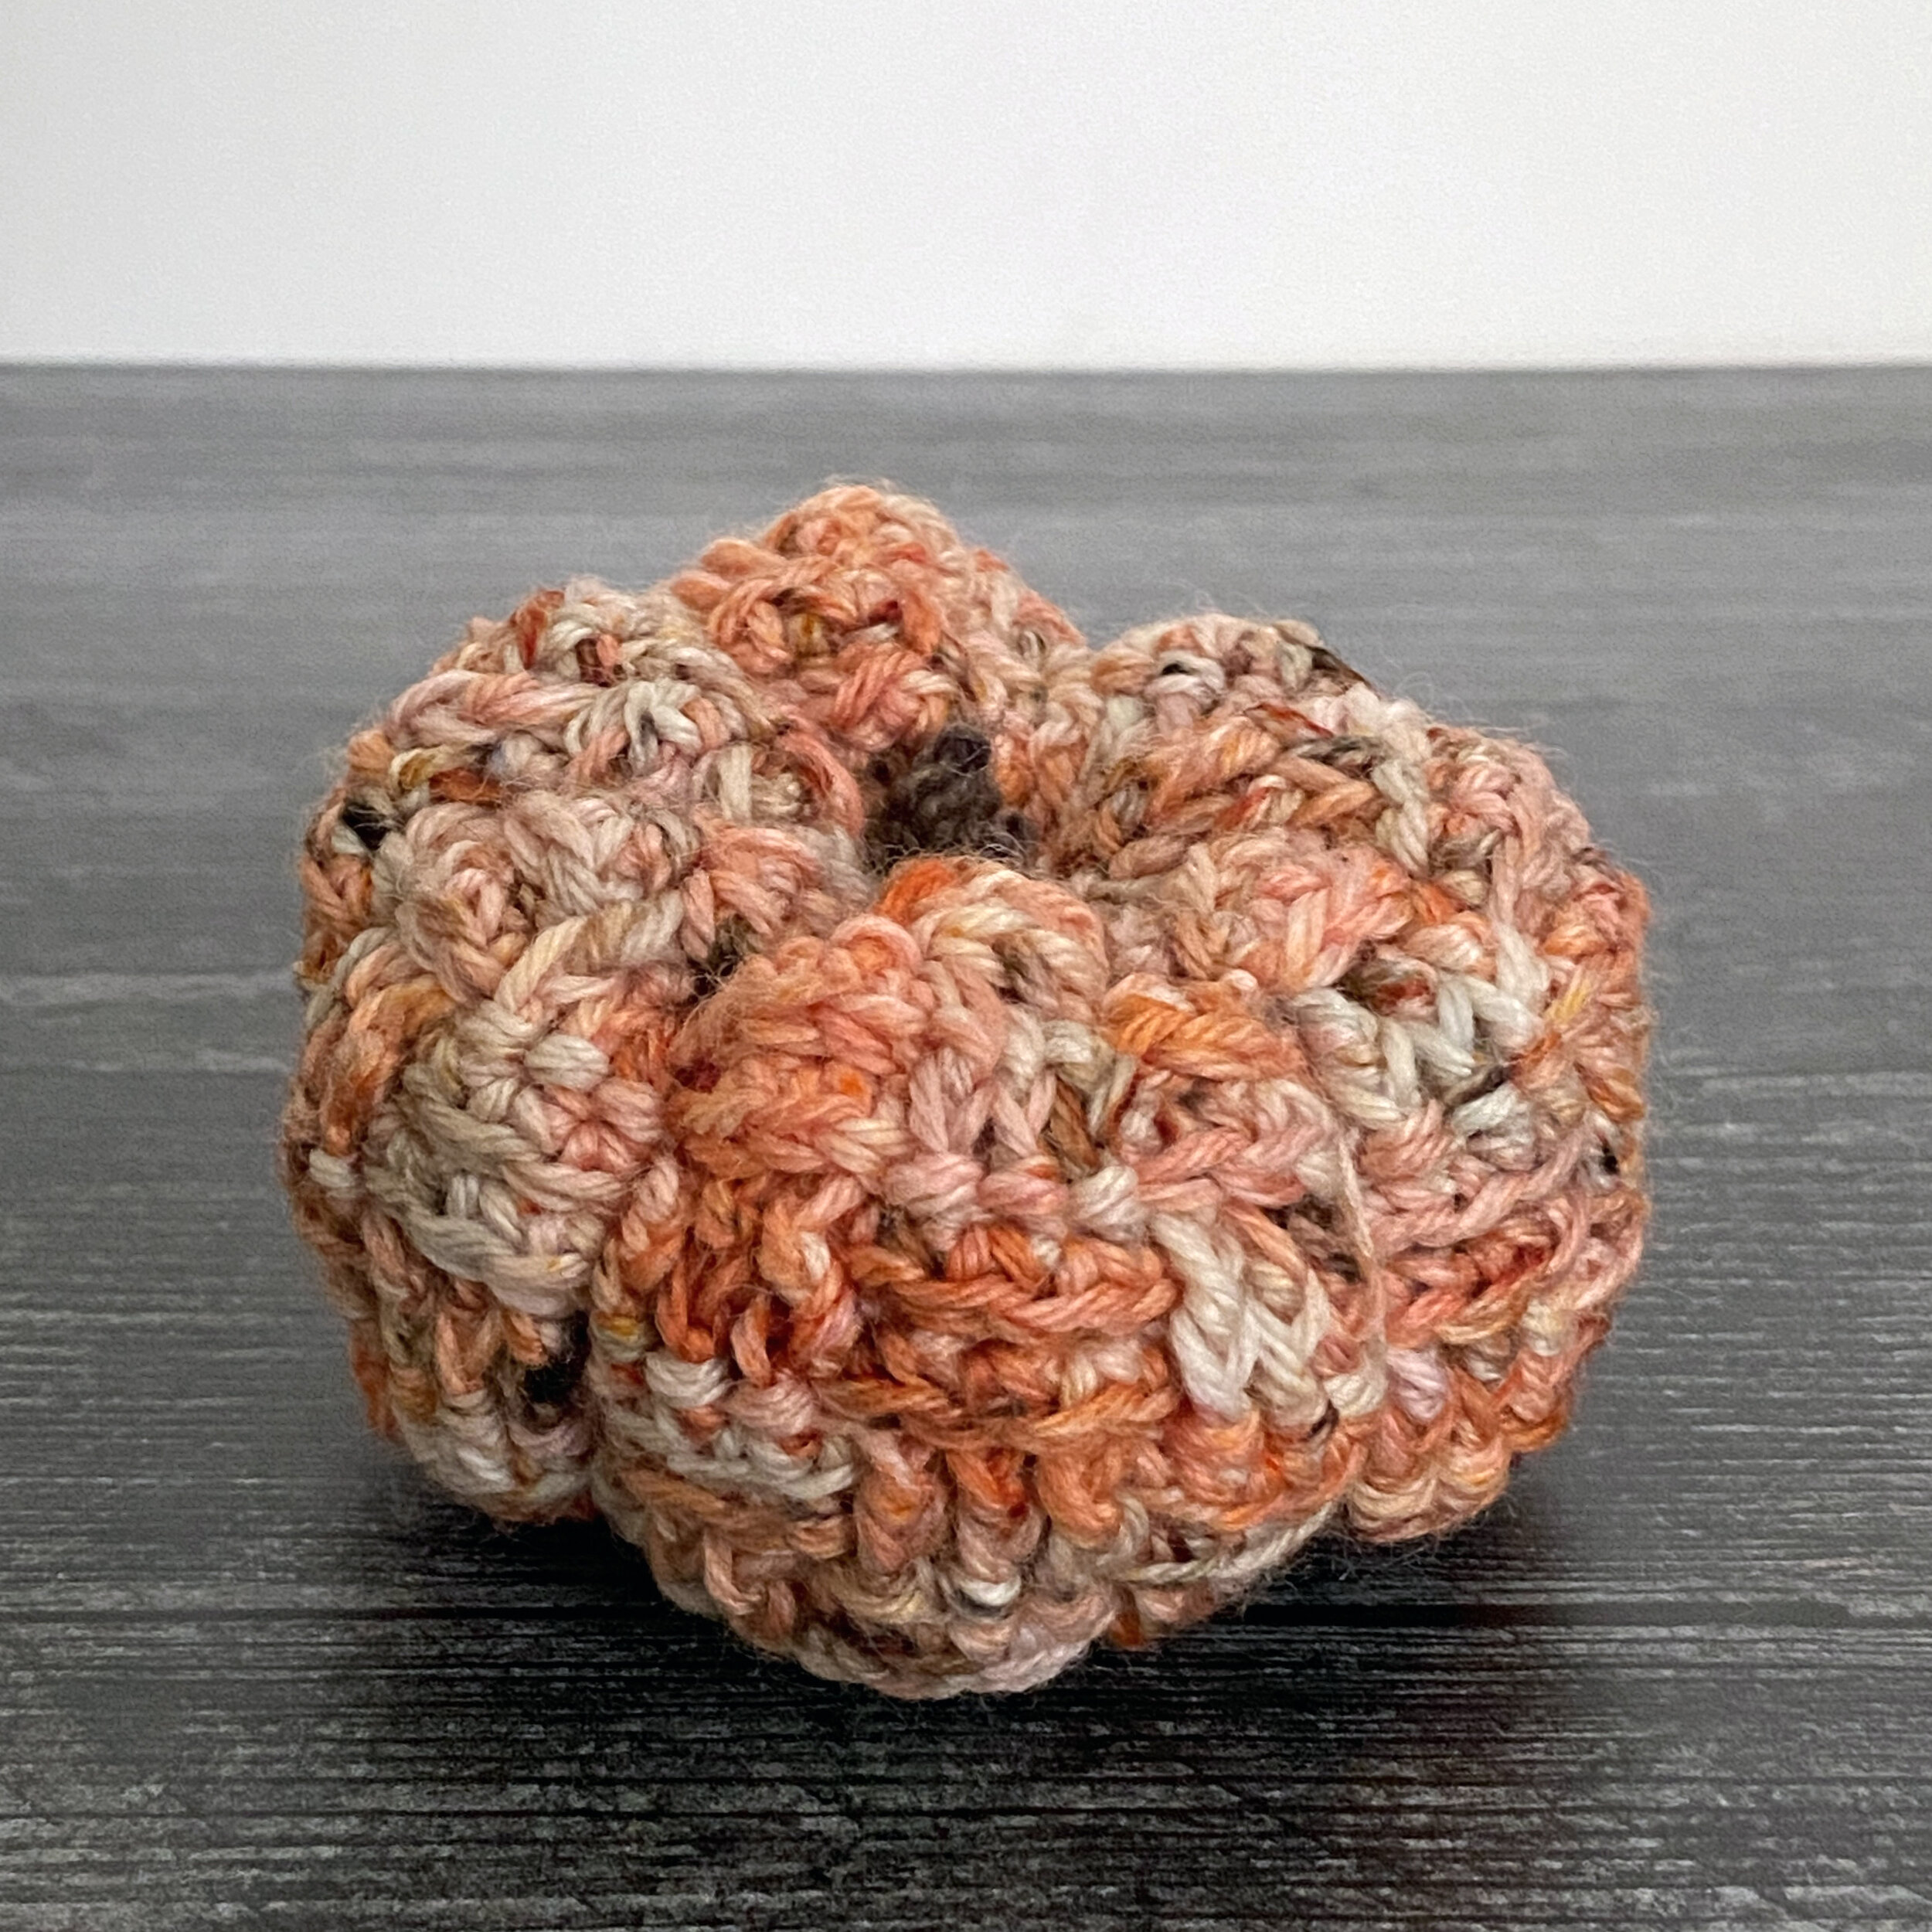
11” in circumference x 2.25” tall (28 cm x 5.7 cm)
Techniques
Working in the Round, Post Stitches, Shaping
Additional Notes
The finished size of your pumpkin may vary due to hook chosen and yarn used.
Leave a tail approximately 12 inches at the start of your pumpkin for sewing and shaping your pumpkin.
When you fasten off, you will need approximately 48 inches for sewing and shaping your stuffed pumpkin.
If you find that there is still a gap after cinching your pumpkin closed and fastening off, sew across the opening a few times to finish closing the hole.
If you would like a thicker or longer pumpkin stem, feel free to adjust to your liking by:
increasing the number of beginning CHs
working two rows of SC, folding the fabric in half and sewing it closed

MATERIALS
Featured Yarn
Pumpkin
109 yards (100 meters) of DK weight
Dragon Hoard Yarn, Magic DK (75% SW Wool, 25% Nylon), (1) skein: 246 yards (225 meters) and 100 grams (3.5 ounces) per skein
Color: Pumpkin Pasties
Stem
Less than 1 yard of any worsted weight brown yarn.
Hook
US Size D/3: 3.25 mm
Other Materials
Tapestry Needle, Scissors, Tape Measure, Polyfil or other material for stuffing your finished pumpkin
ABBREVIATIONS (US terms)
BPDC: Back Post Double Crochet
YO and insert hook around the appropriate post from back to front to back, right to left. YO and complete the DC.
CH: Chain
DC: Double Crochet
FDC: Foundation Double Crochet
CH 4. YO, insert hook into the fourth CH from the hook. *YO and pull up one loop. YO and draw through one loop (one CH made). YO and pull through two loops, YO and pull through both of the loops on the hook to complete a DC. **YO and insert the hook into CH made in previous ST. Repeat from * to desired stitch count, ending at **.
FPDC: Front Post Double Crochet
YO and insert hook around the appropriate post from front to back to front, right to left. YO and complete the DC.
RND(S): Round(s)
SC: Single Crochet
SLST: Slip Stitch
ST(S): Stitch(es)
YO: Yarn Over
PATTERN

Pumpkin Body
RND 1: Leaving a 12-inch tail, begin with FDC for 45 STS. SLST to first FDC to join being careful not to twist the work (45).
RND 2: CH 1 (does not count as a stitch now or throughout pattern). SC in each ST around. SLST to first SC to join. (45)
RND 3. CH 1. For this entire round, work around the STS of the round below the previous round.*FPDC around the next 3 STS, BPDC around the next 3 STS. Repeat from * around 6 times. FPDC around the last 3 STS. SLST to first FPDC to join. (45).
Note: The top of your post stitches should barely peek out above the SC stitches in the previous round. Keeping your stitching tight and these two rows at approximately the same height will help minimize the visibility of the Polyfil when you stuff your pumpkin.
RNDS 4-5: Repeat RNDS 2-3
RND 6: Repeat RND 2
RND 7: CH 1. For this entire round, work around the STS of the round below the previous round. *BPDC around the next 3 STS, FPDC around the next 3 STS. Repeat from * around 6 times. BPDC around the last 3 STS. SLST to first BPDC to join. (45).
RND 8: Repeat RND 2
RND 9: Repeat RND 7
RNDS 10 - 25: Repeat RNDS 2 -9 twice.
RNDS 26 - 29: Repeat RNDS 2-5 once more.
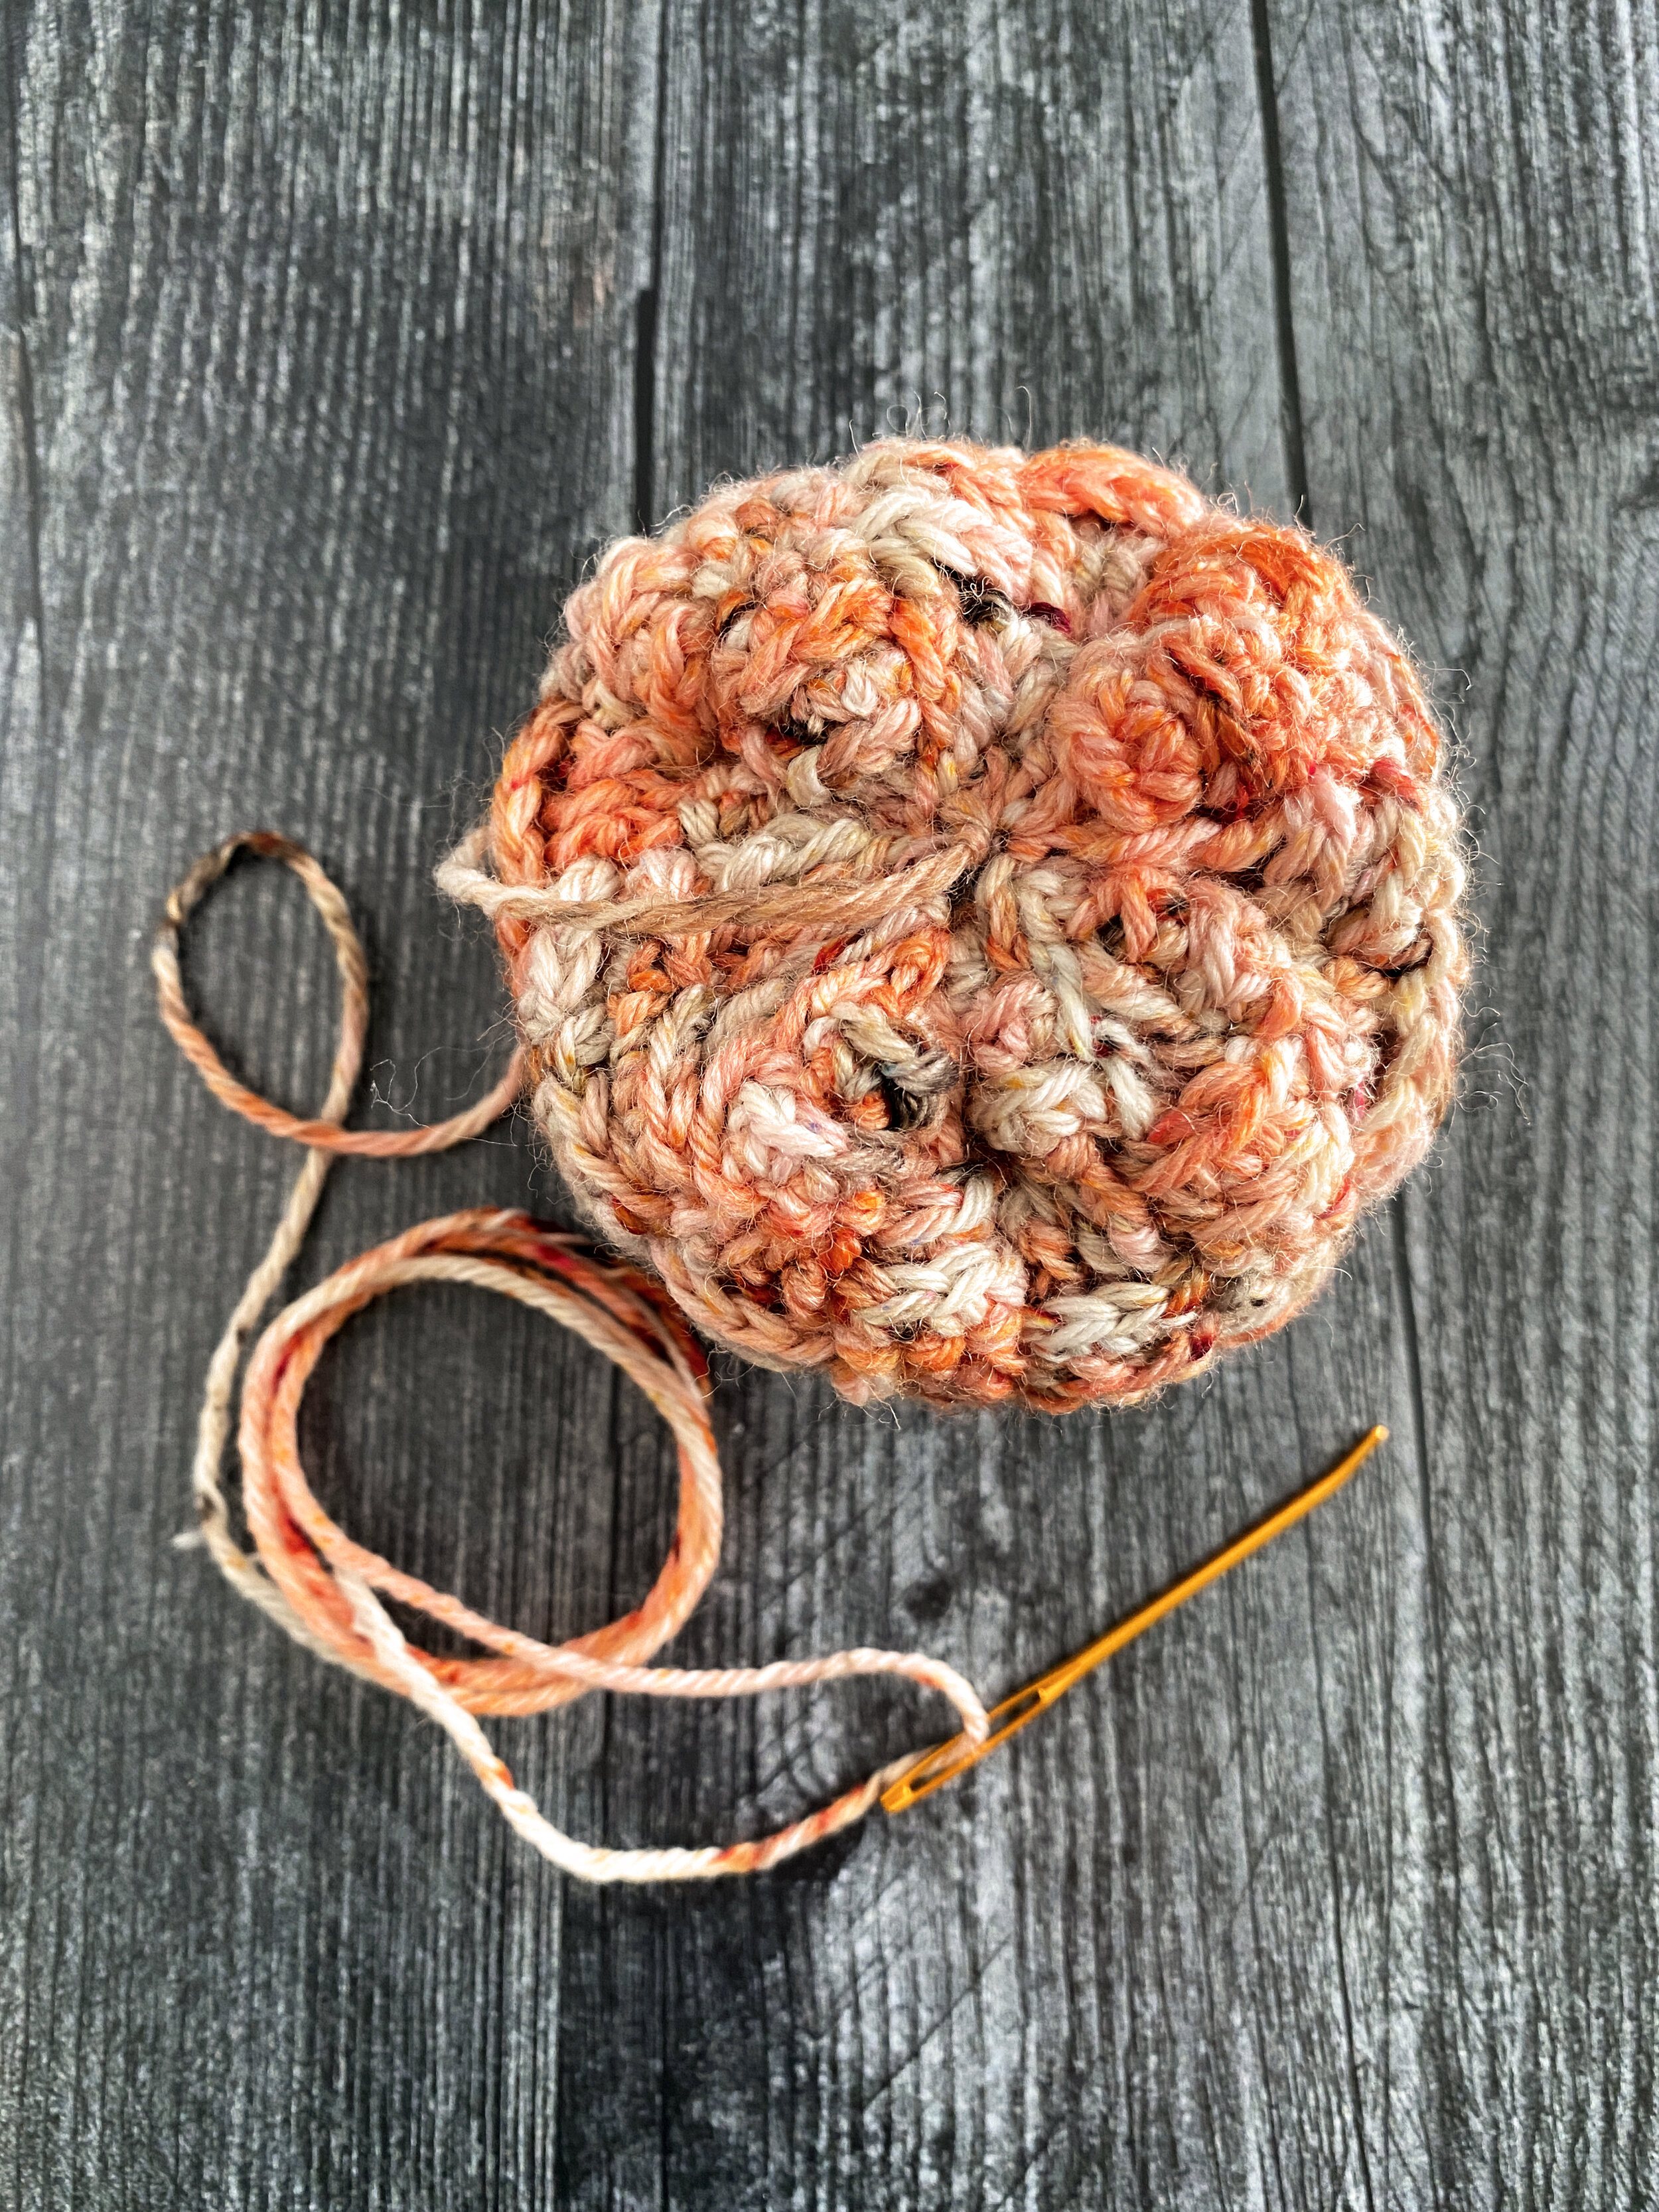
Fasten off leaving at least 48 inches for sewing and shaping your pumpkin. If you find it easier, you can leave a 12” tail for closing your pumpkin, and then cut a length of yarn at least 40 inches long for shaping.

Shaping Your Pumpkin
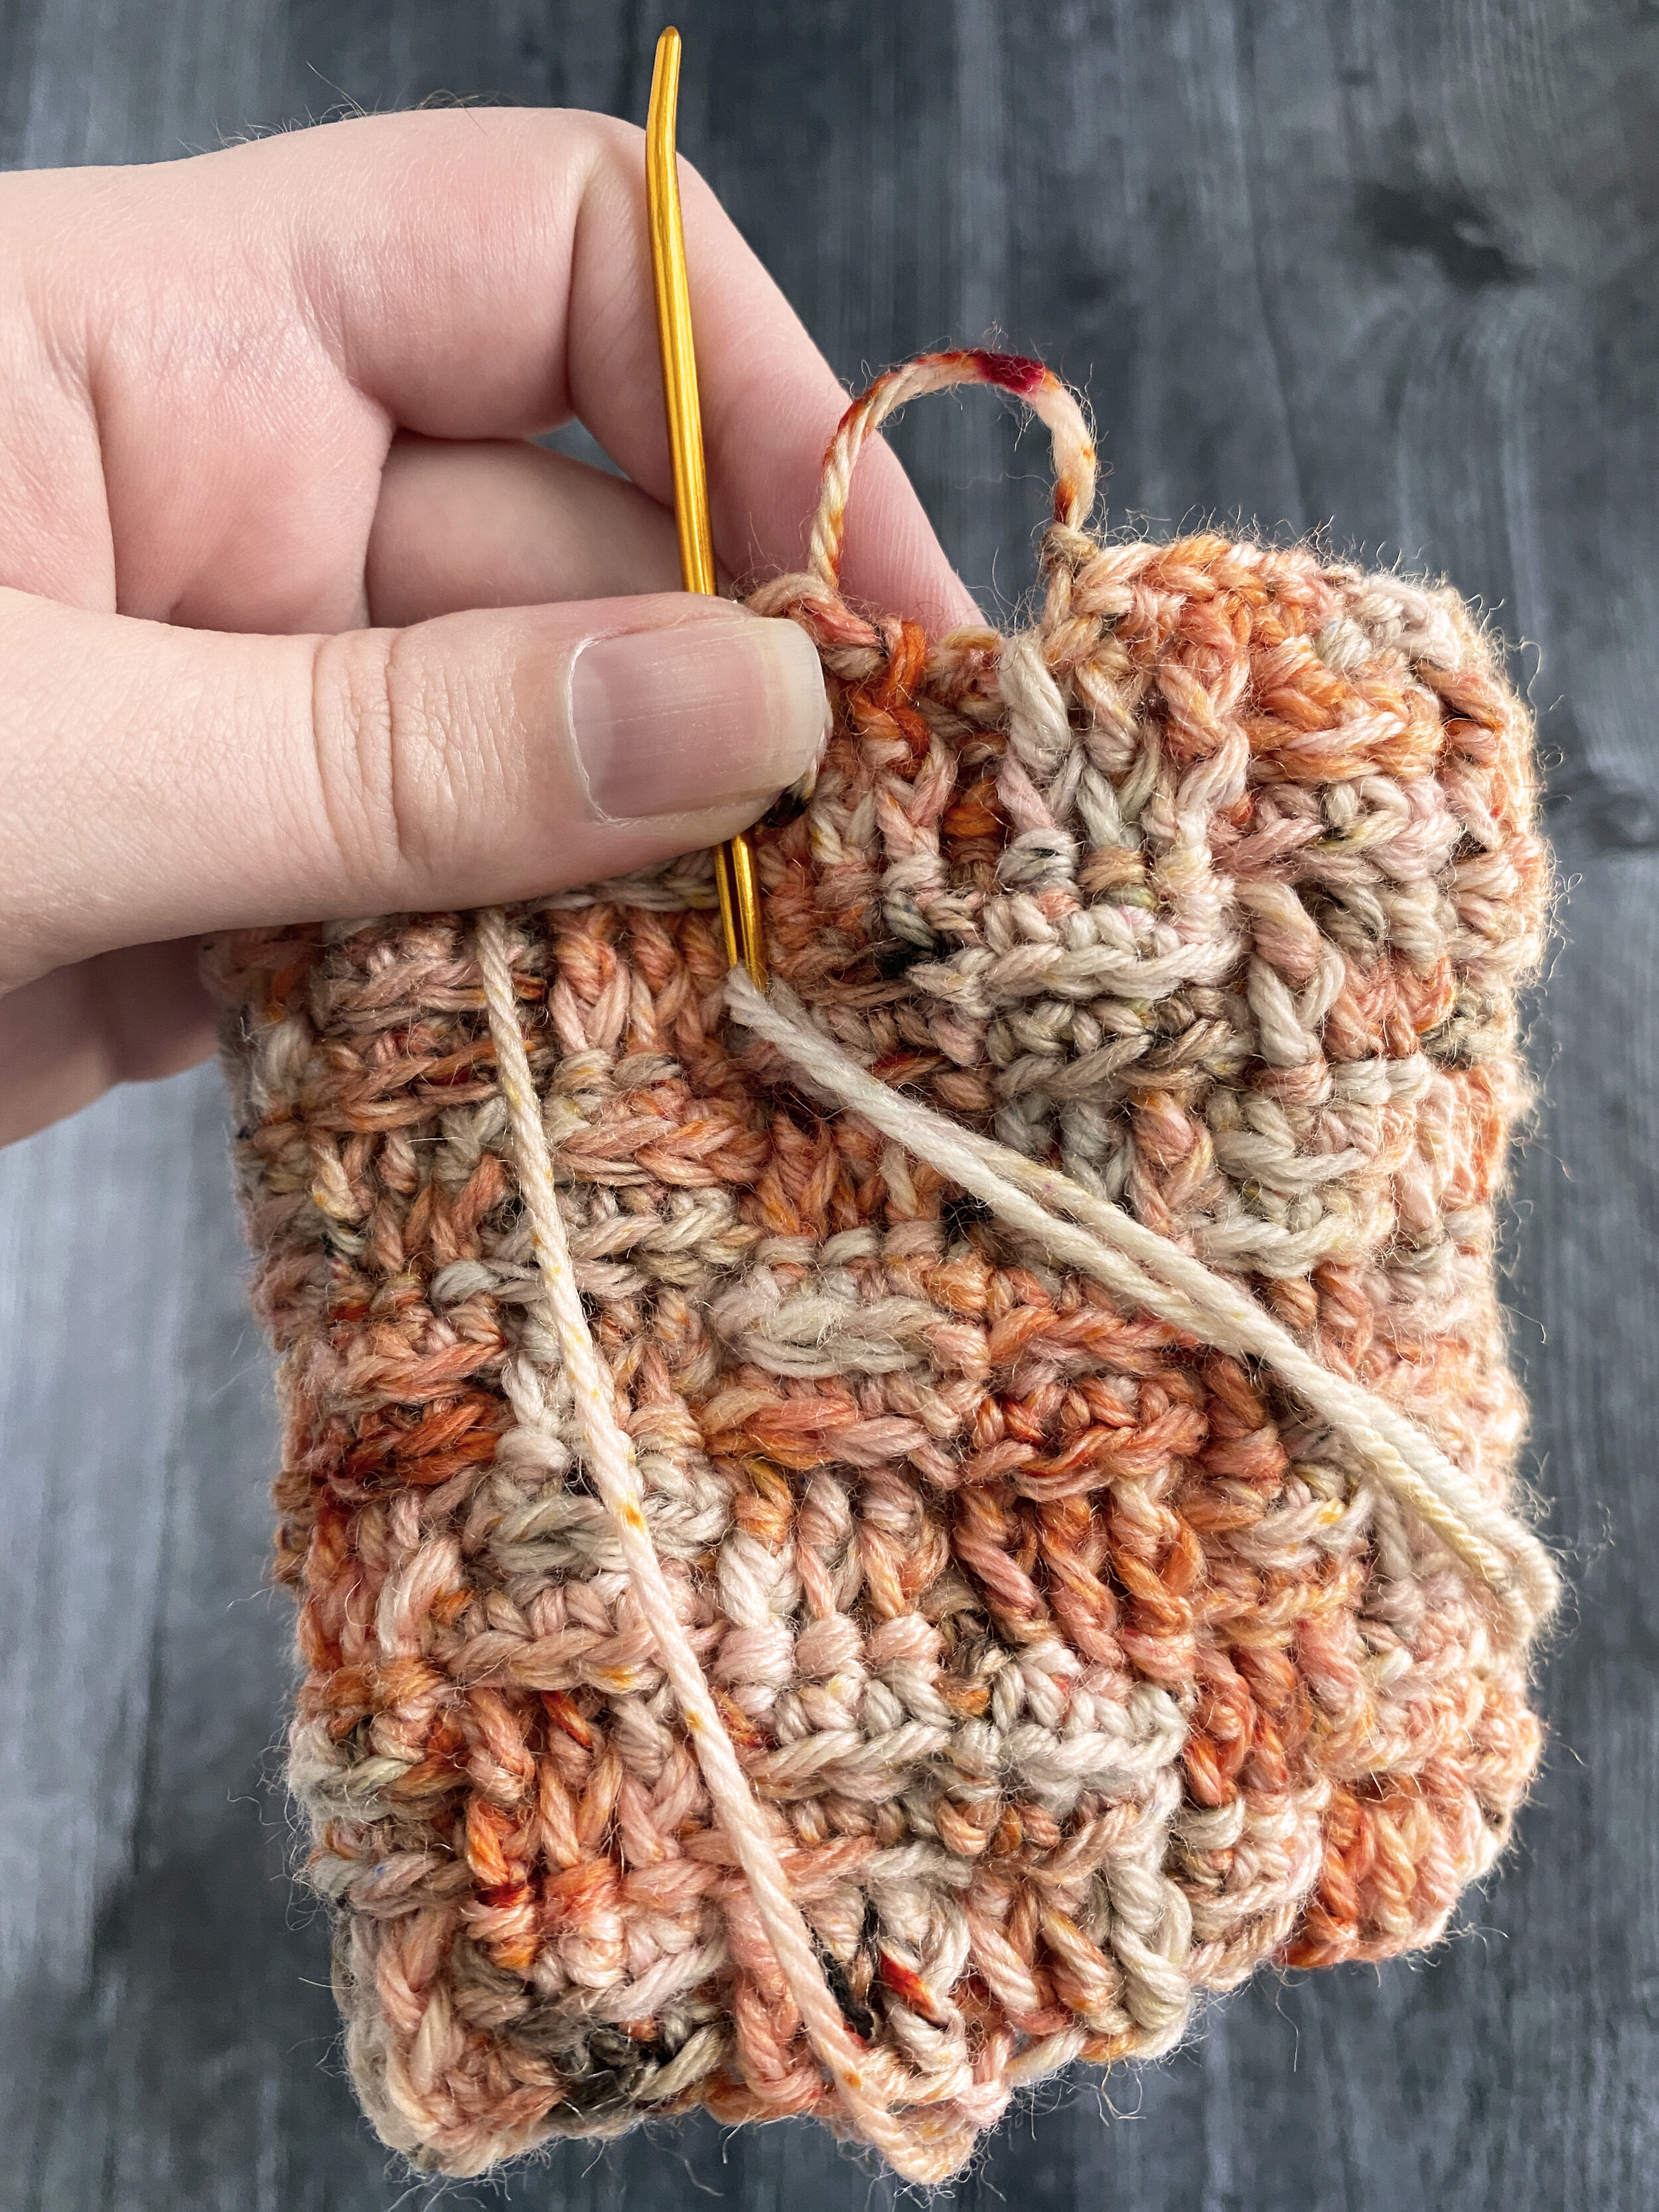
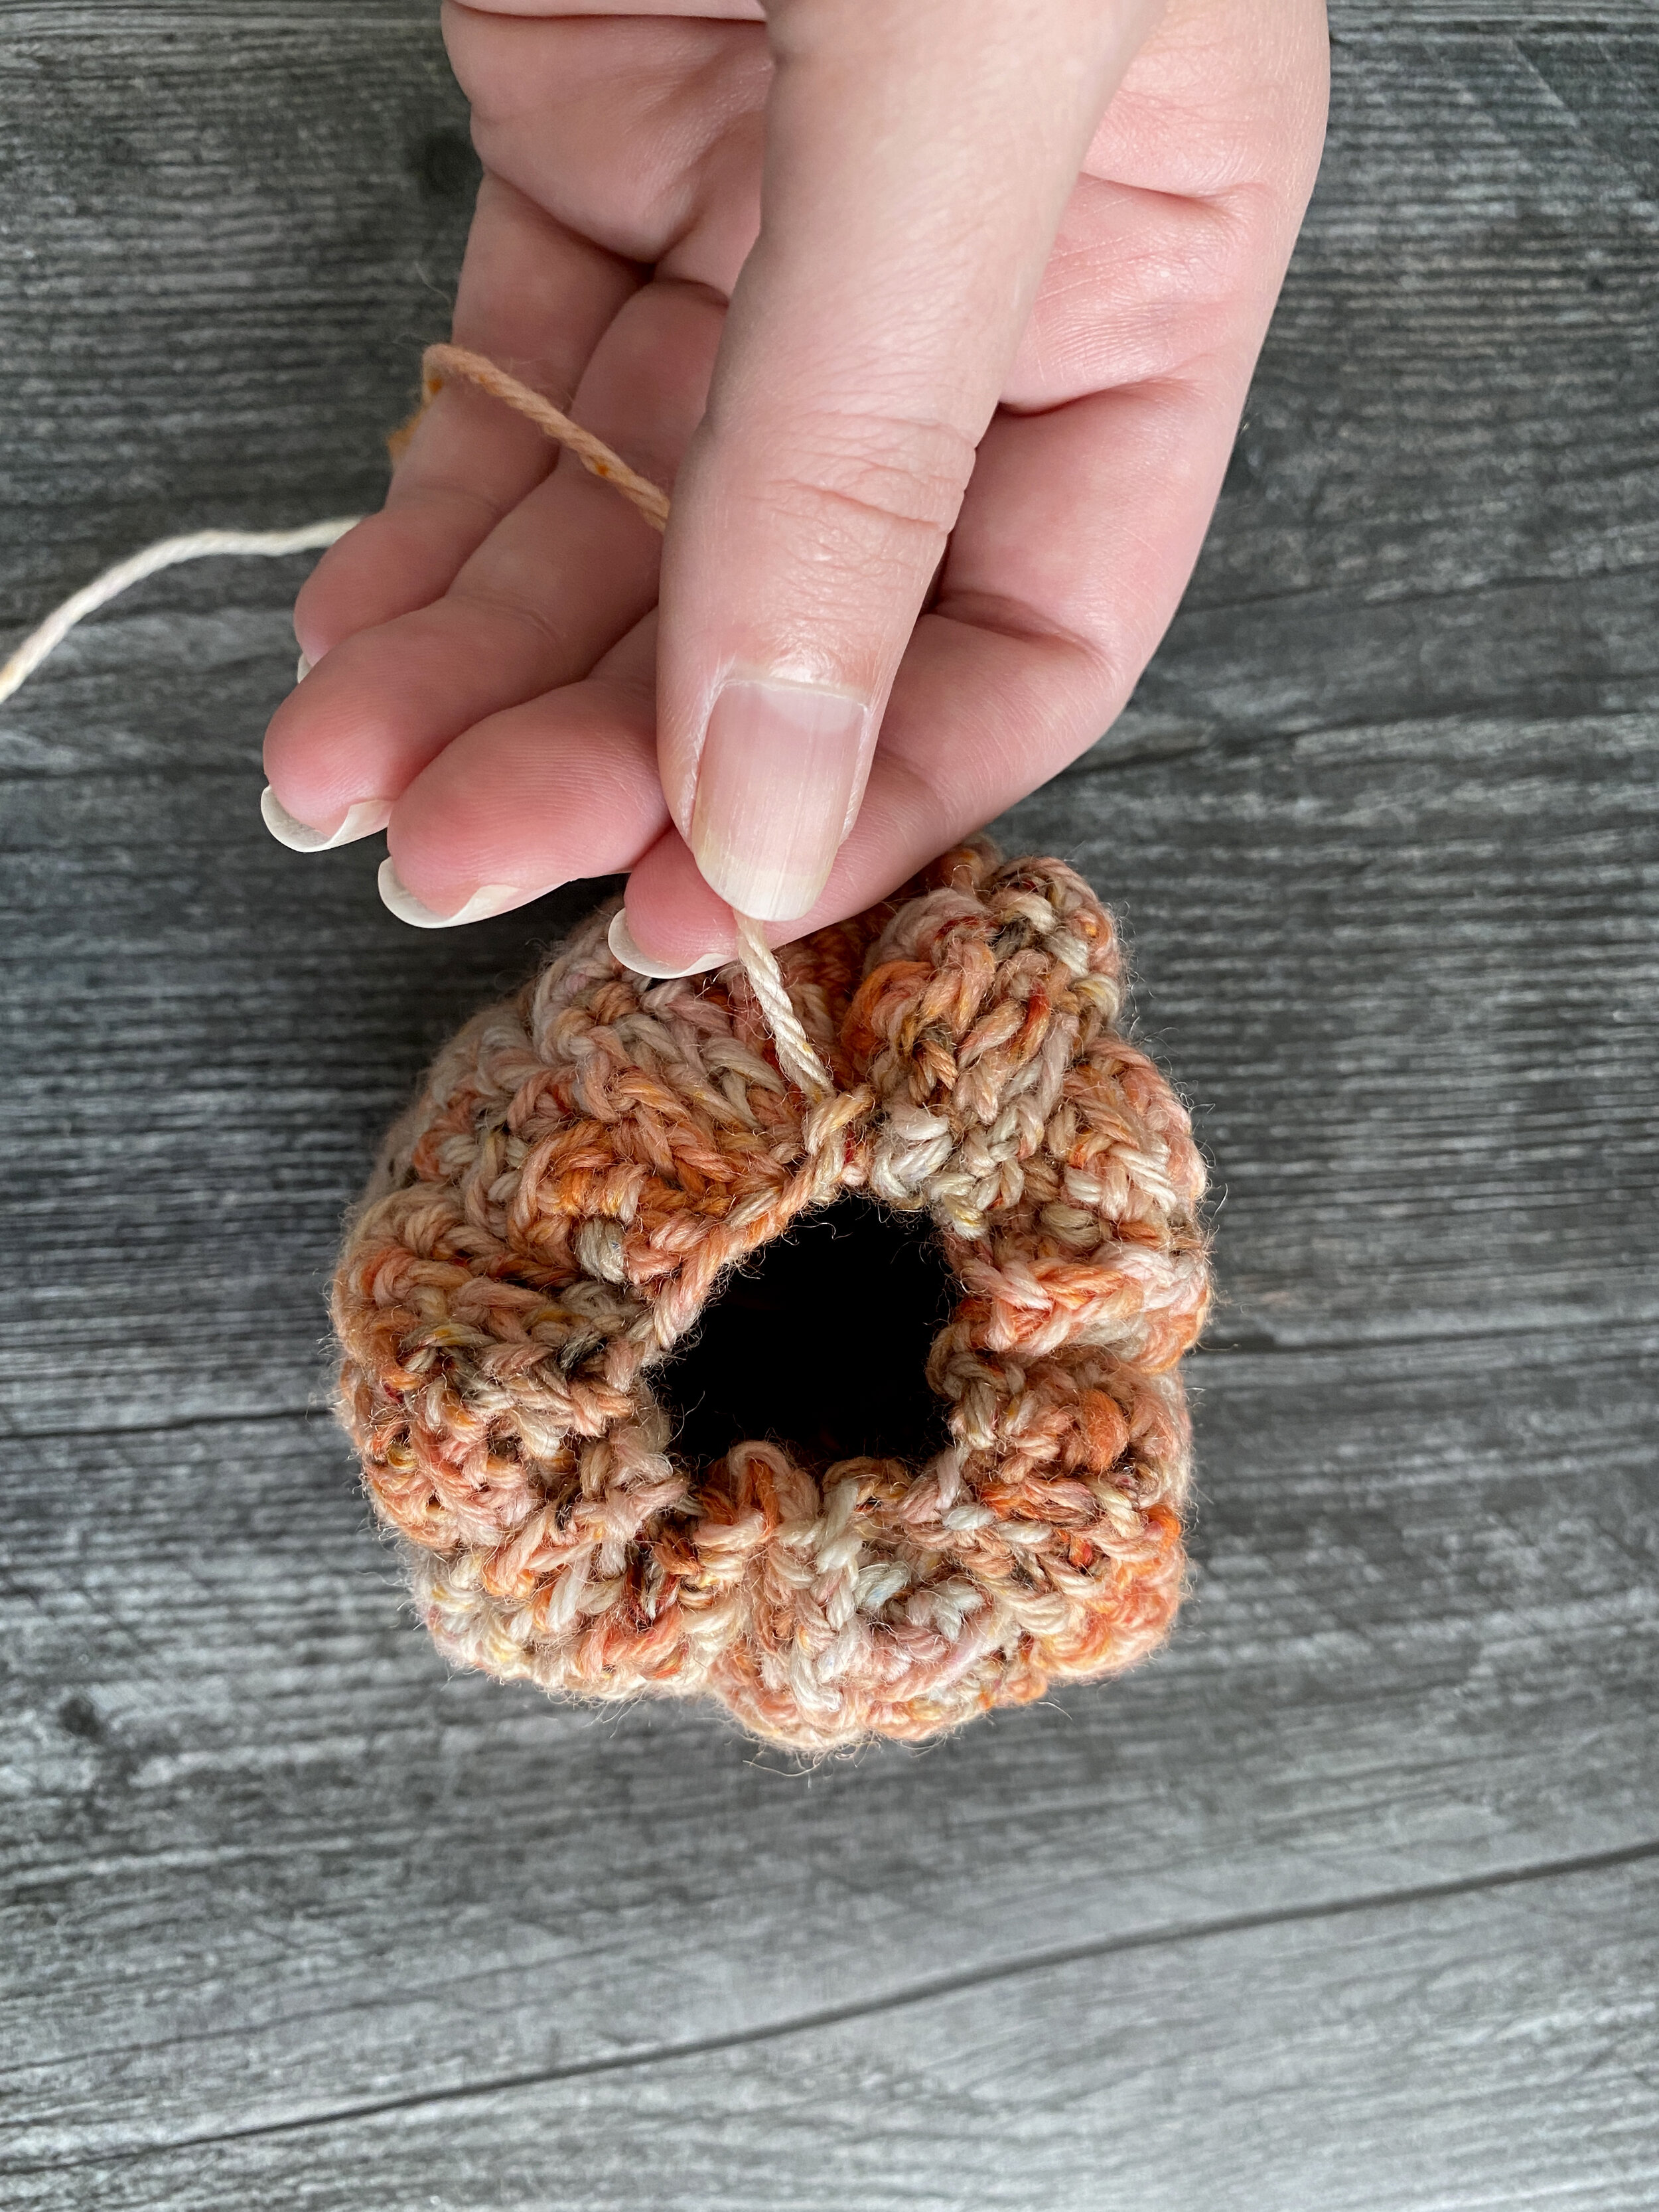
1) Starting with the FDC round (RND 1), weave your tail across the gap at the beginning and end of the foundation round, then through every other stitch in the round.
2) Pull the tail tight, cinching the end closed. Weave in the end to secure the closure. You can either knot this and cut the tail, or leave it woven through to the inside of your pumpkin.
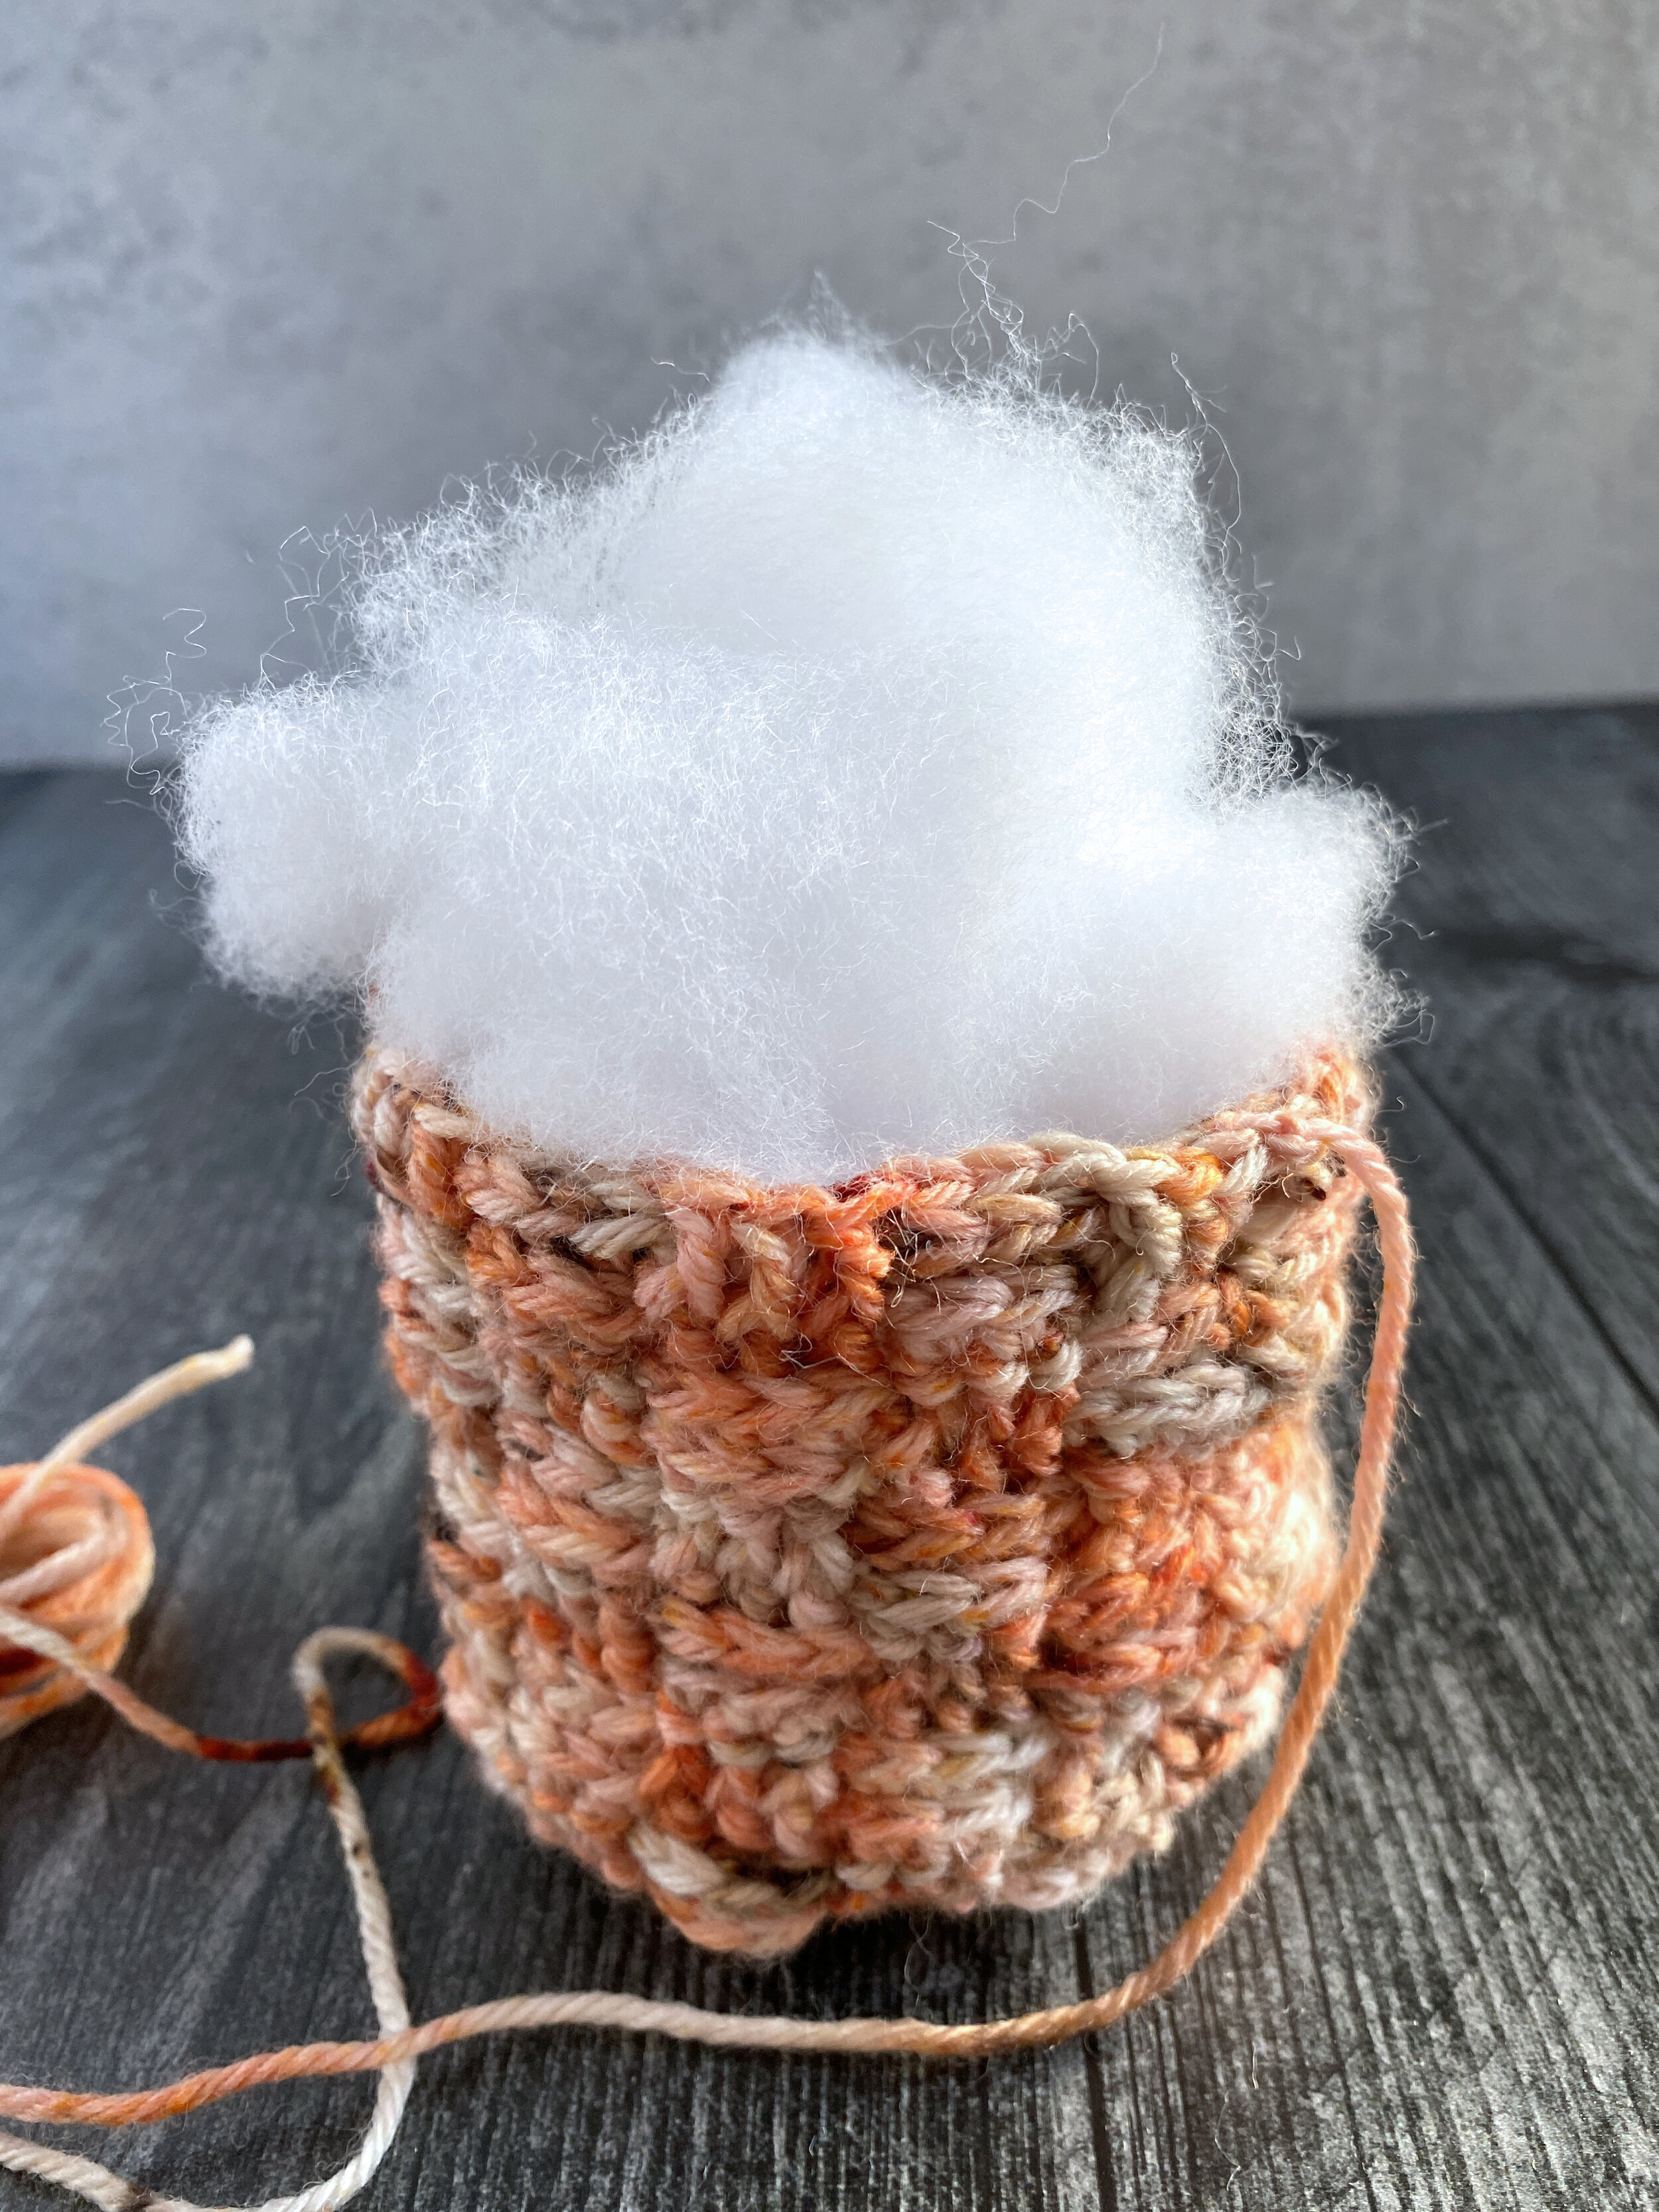
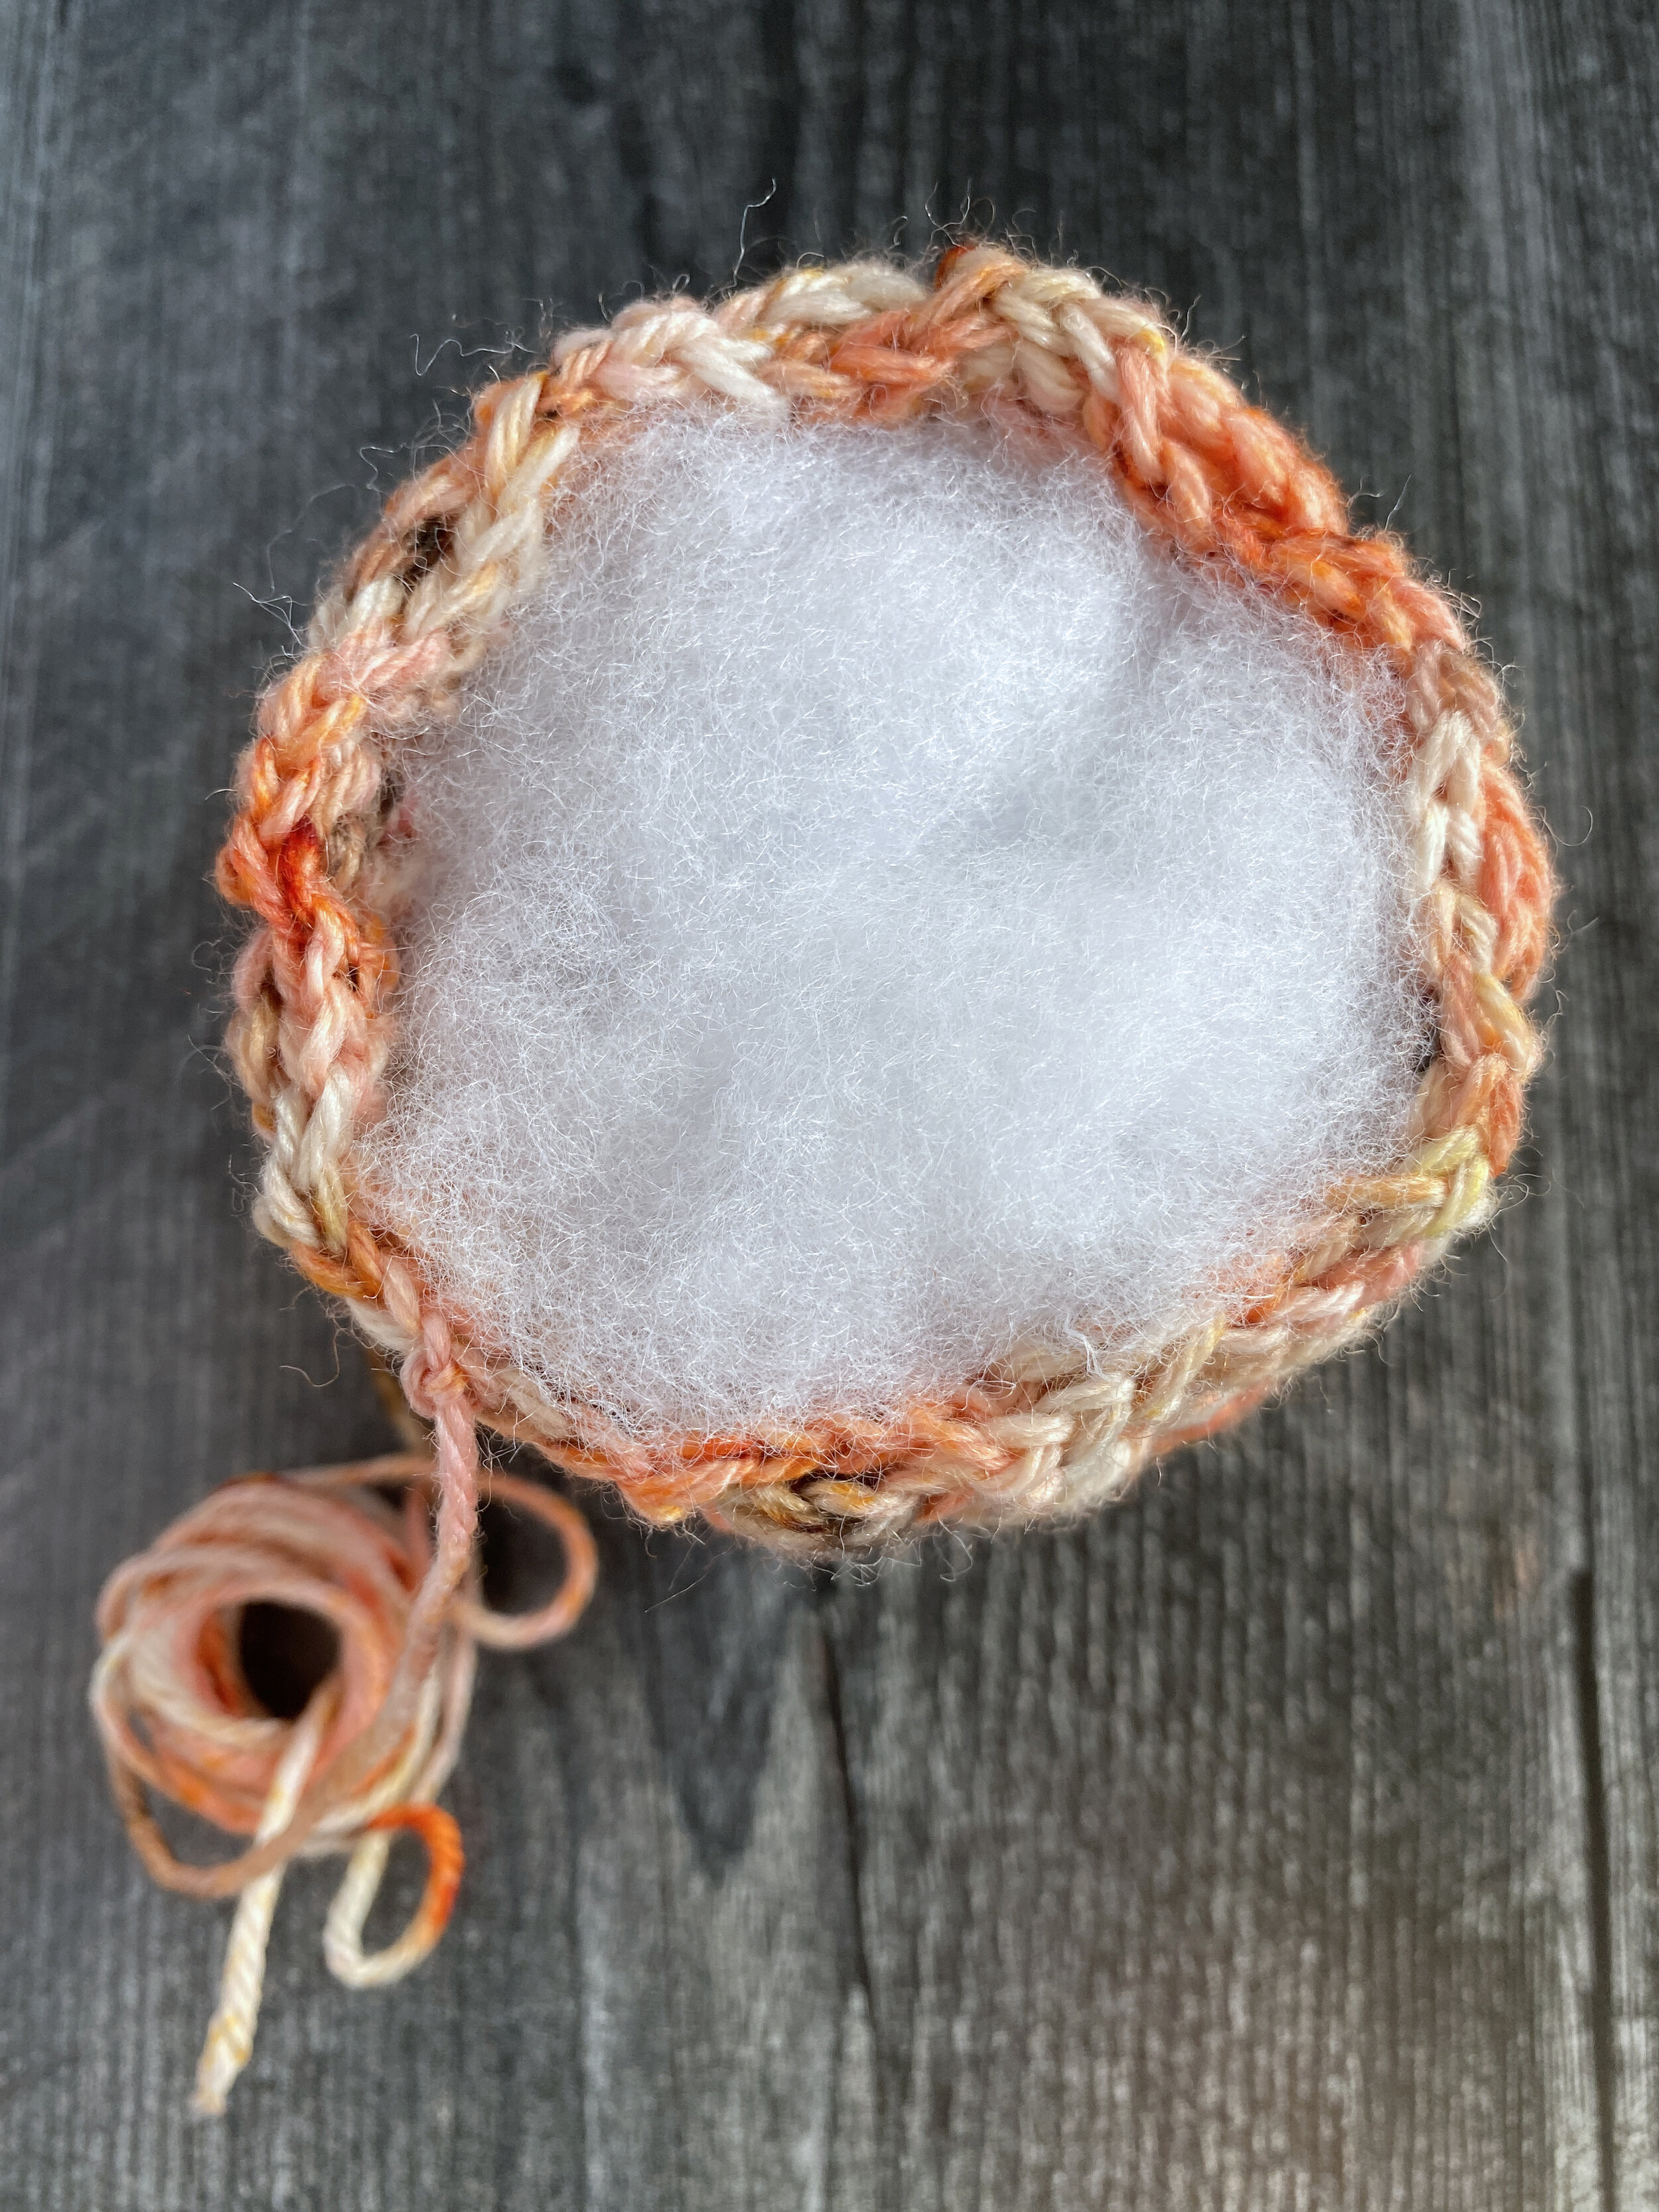
3) Stuff your pumpkin with Polyfil so that the stuffing reaches the top, but do not over stuff. We’ll be squashing this in a minute and over stuffing will stretch your fabric, causing gaps.
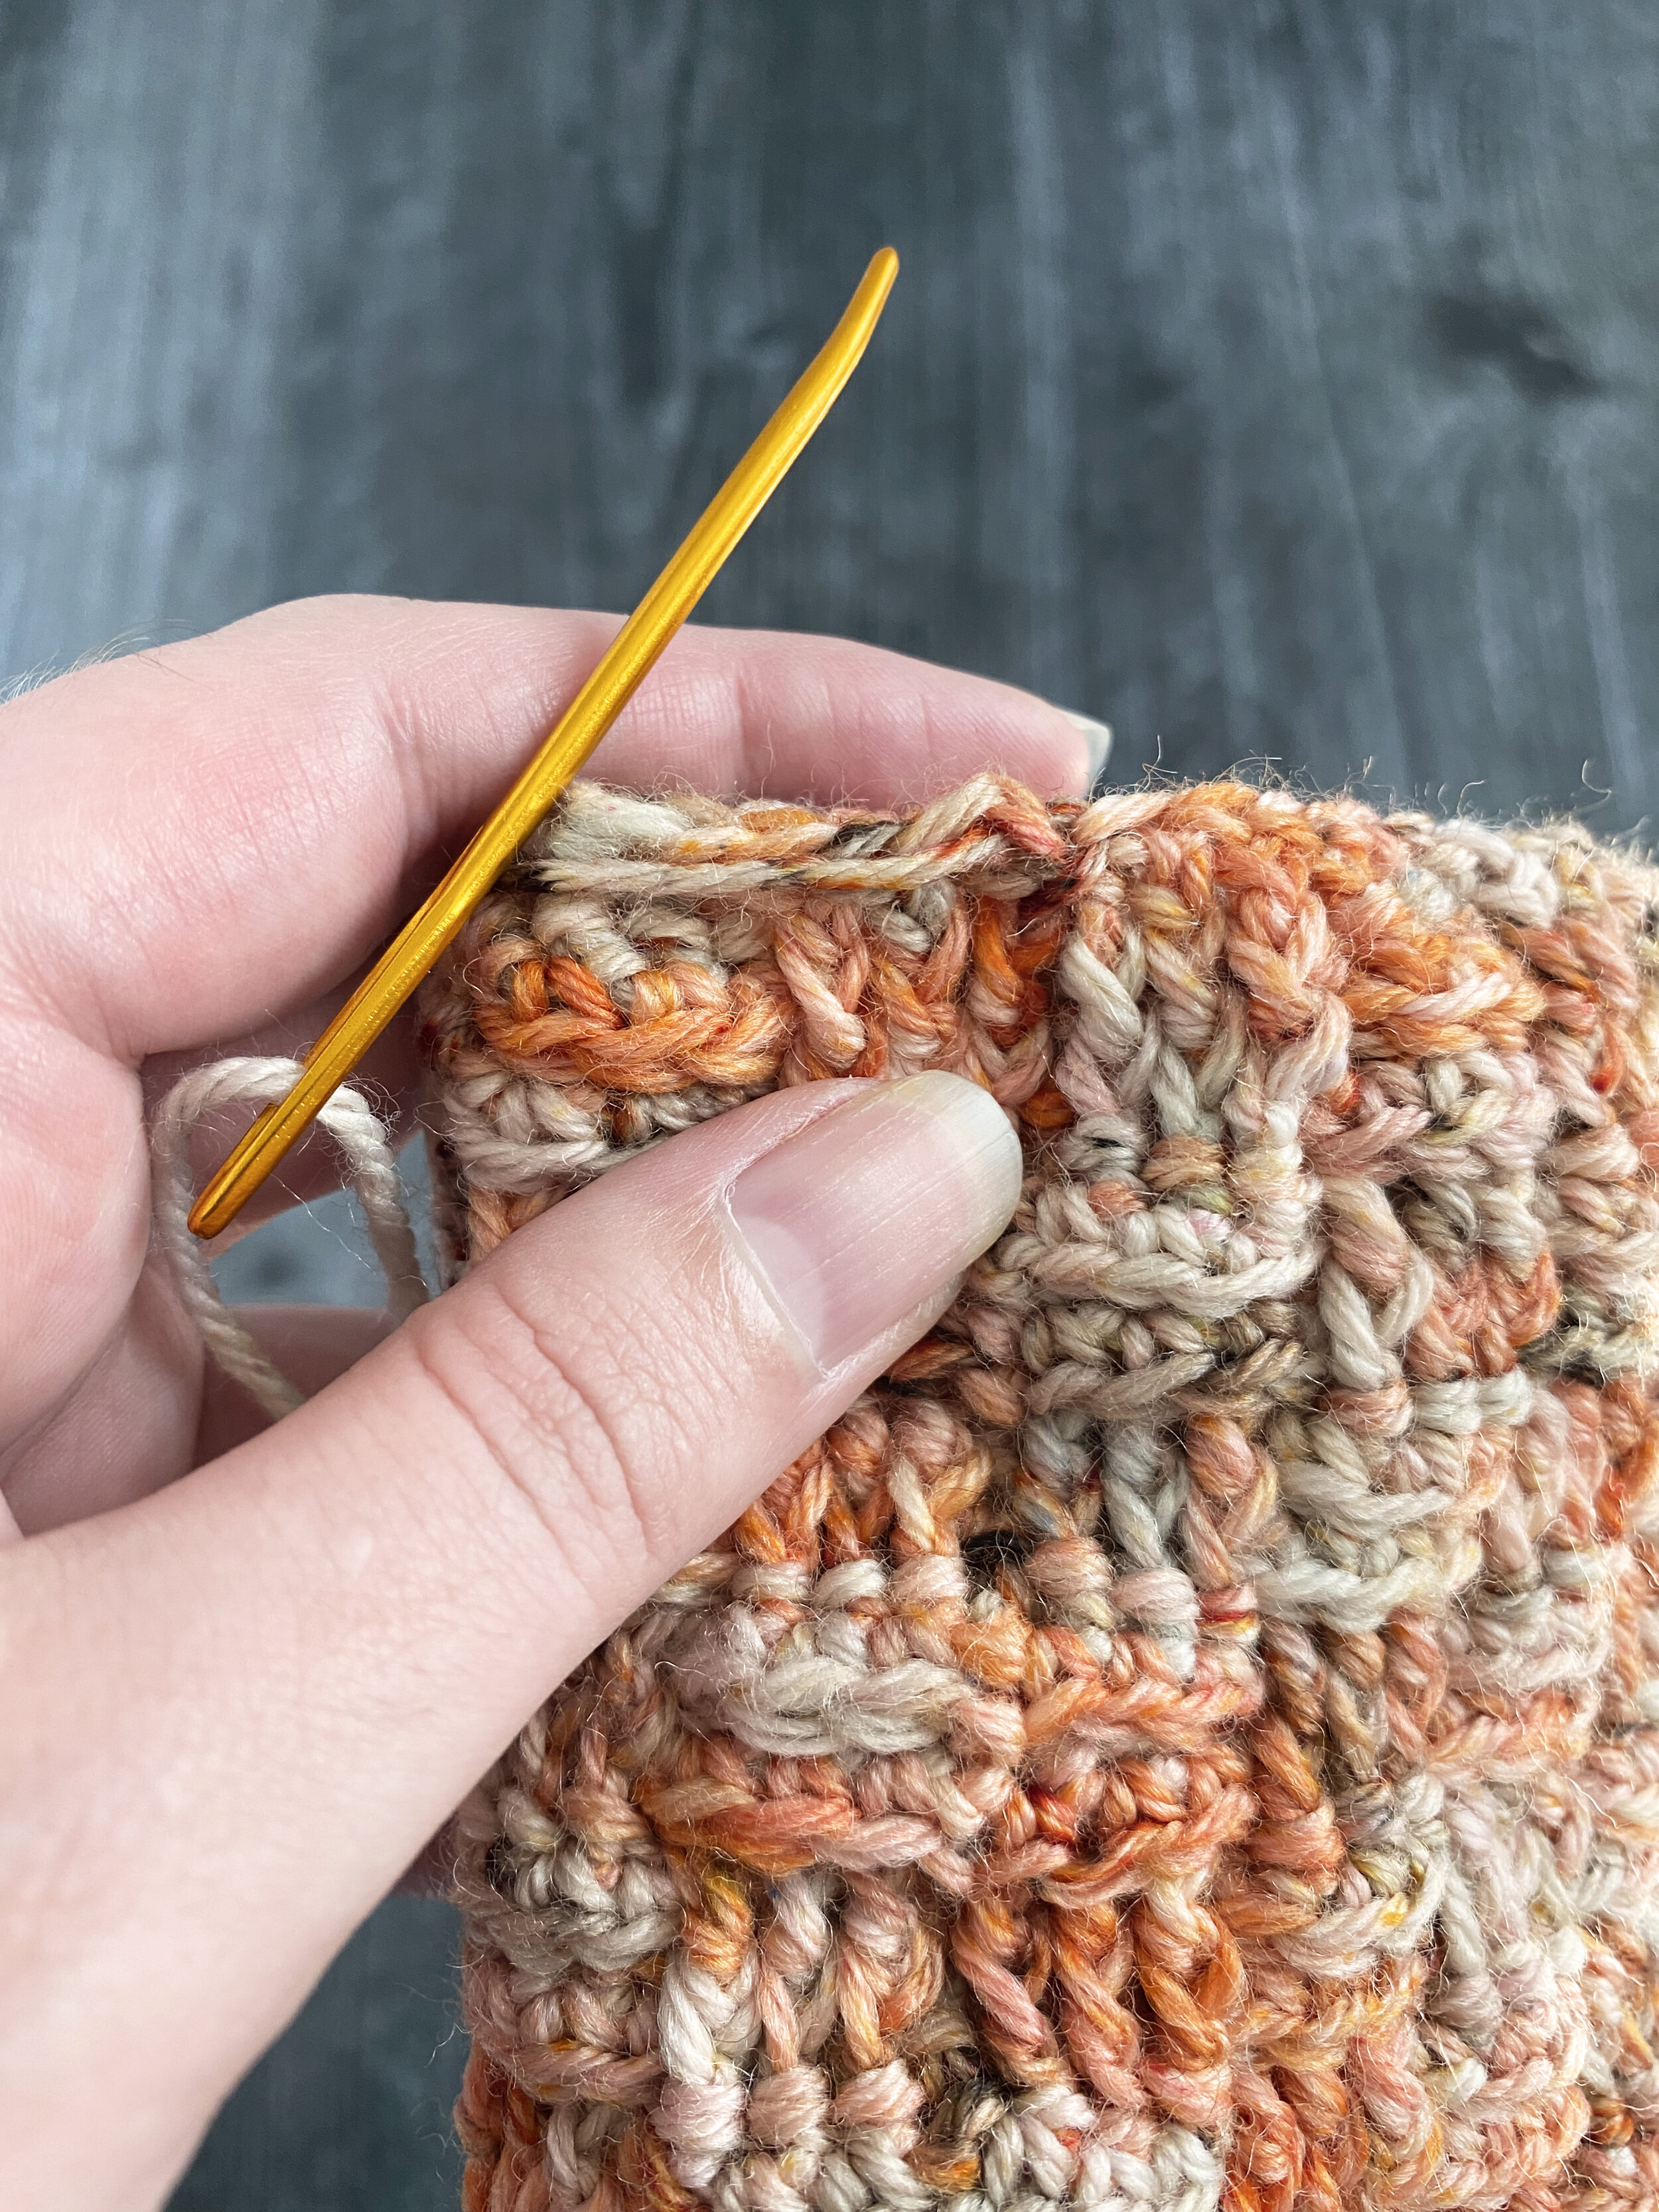
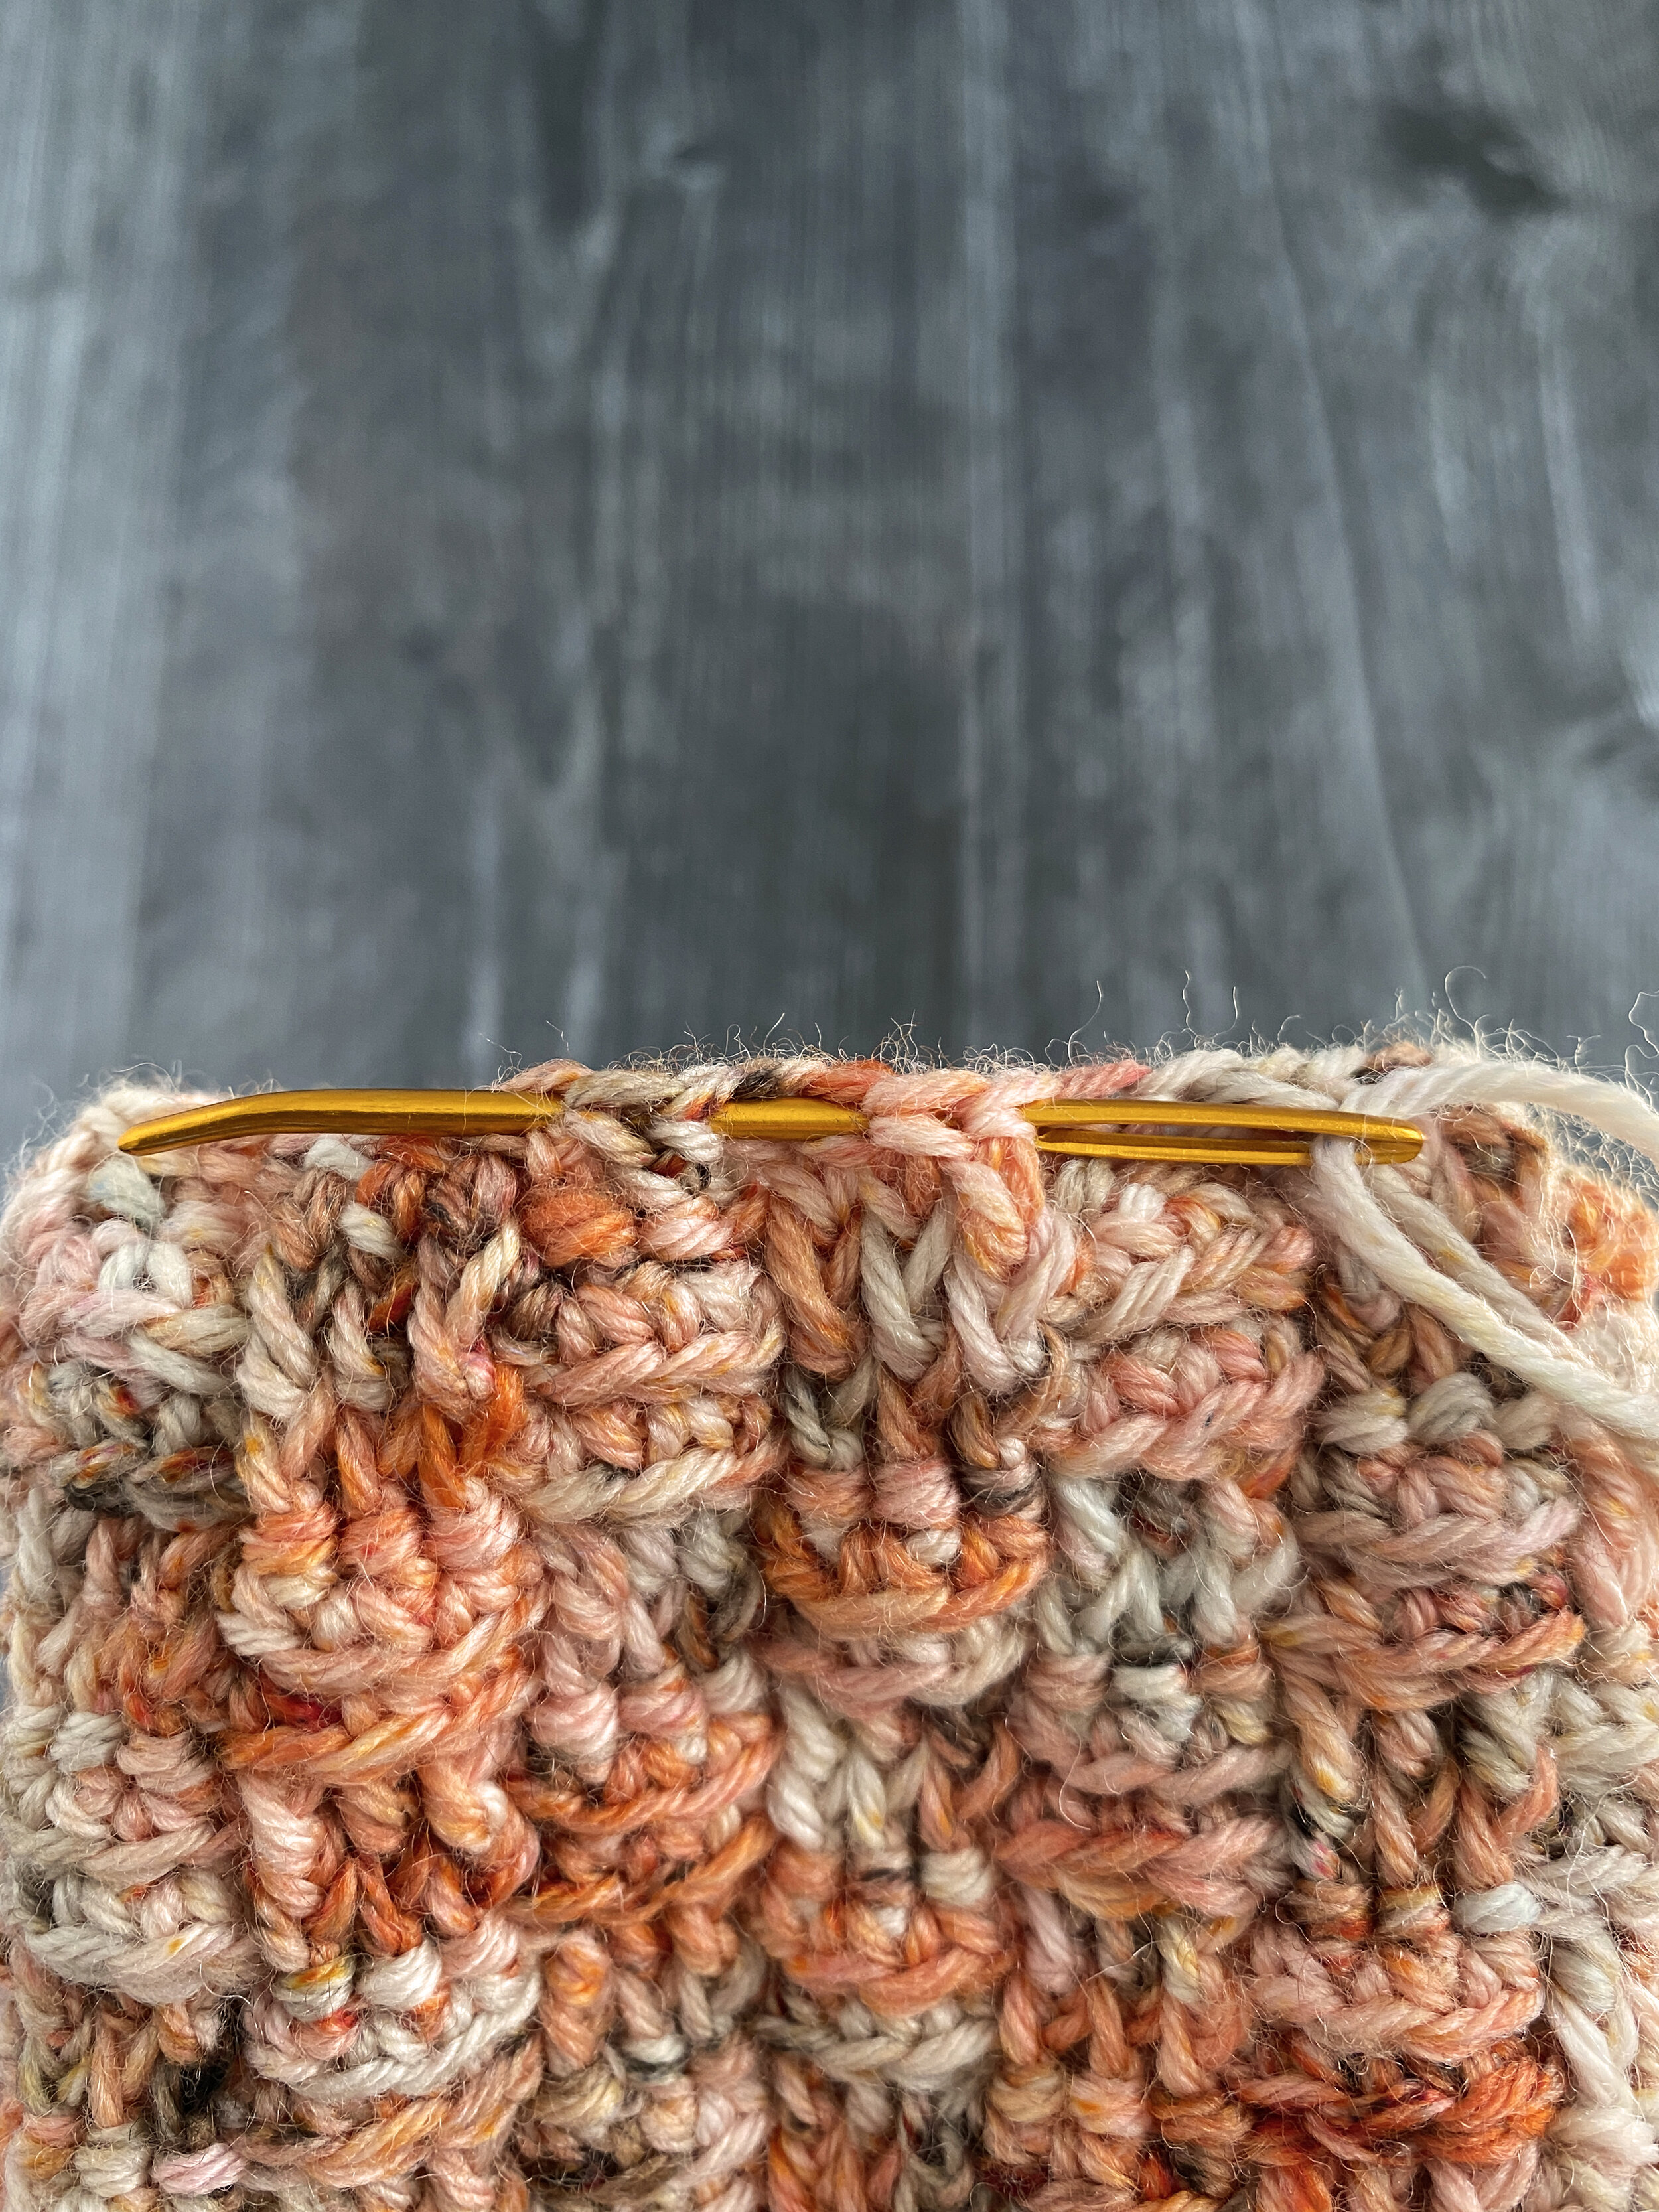
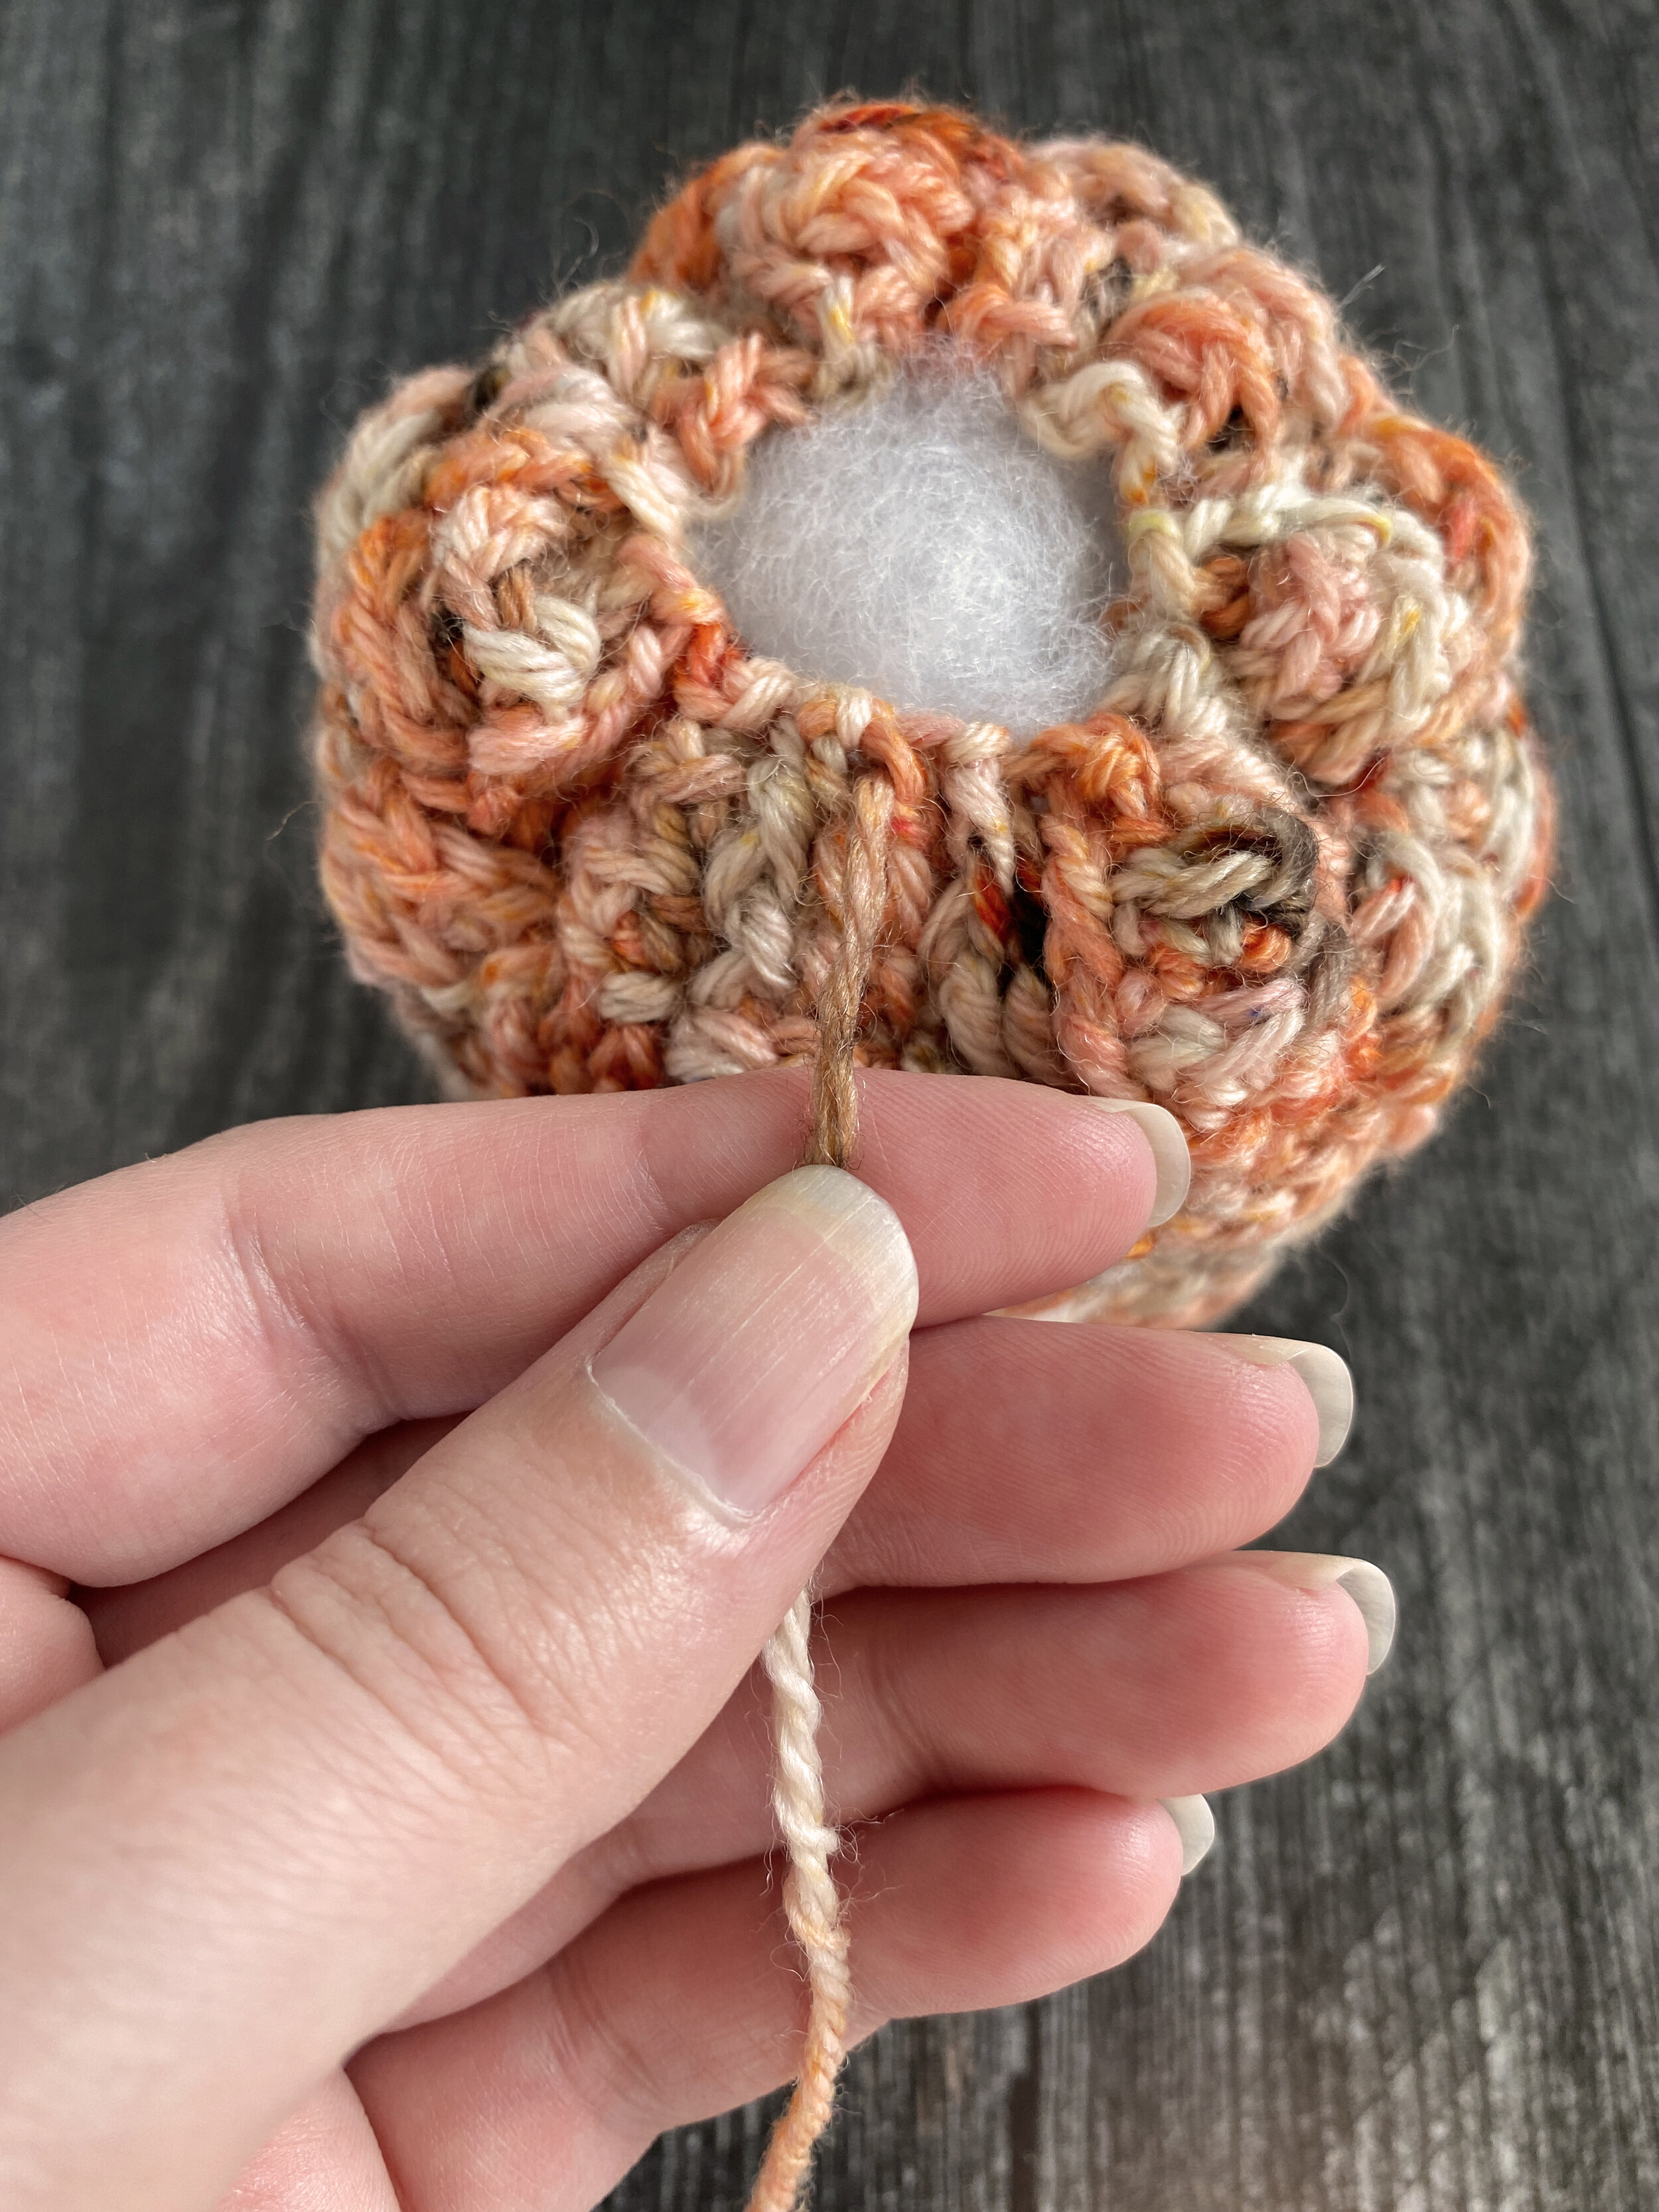
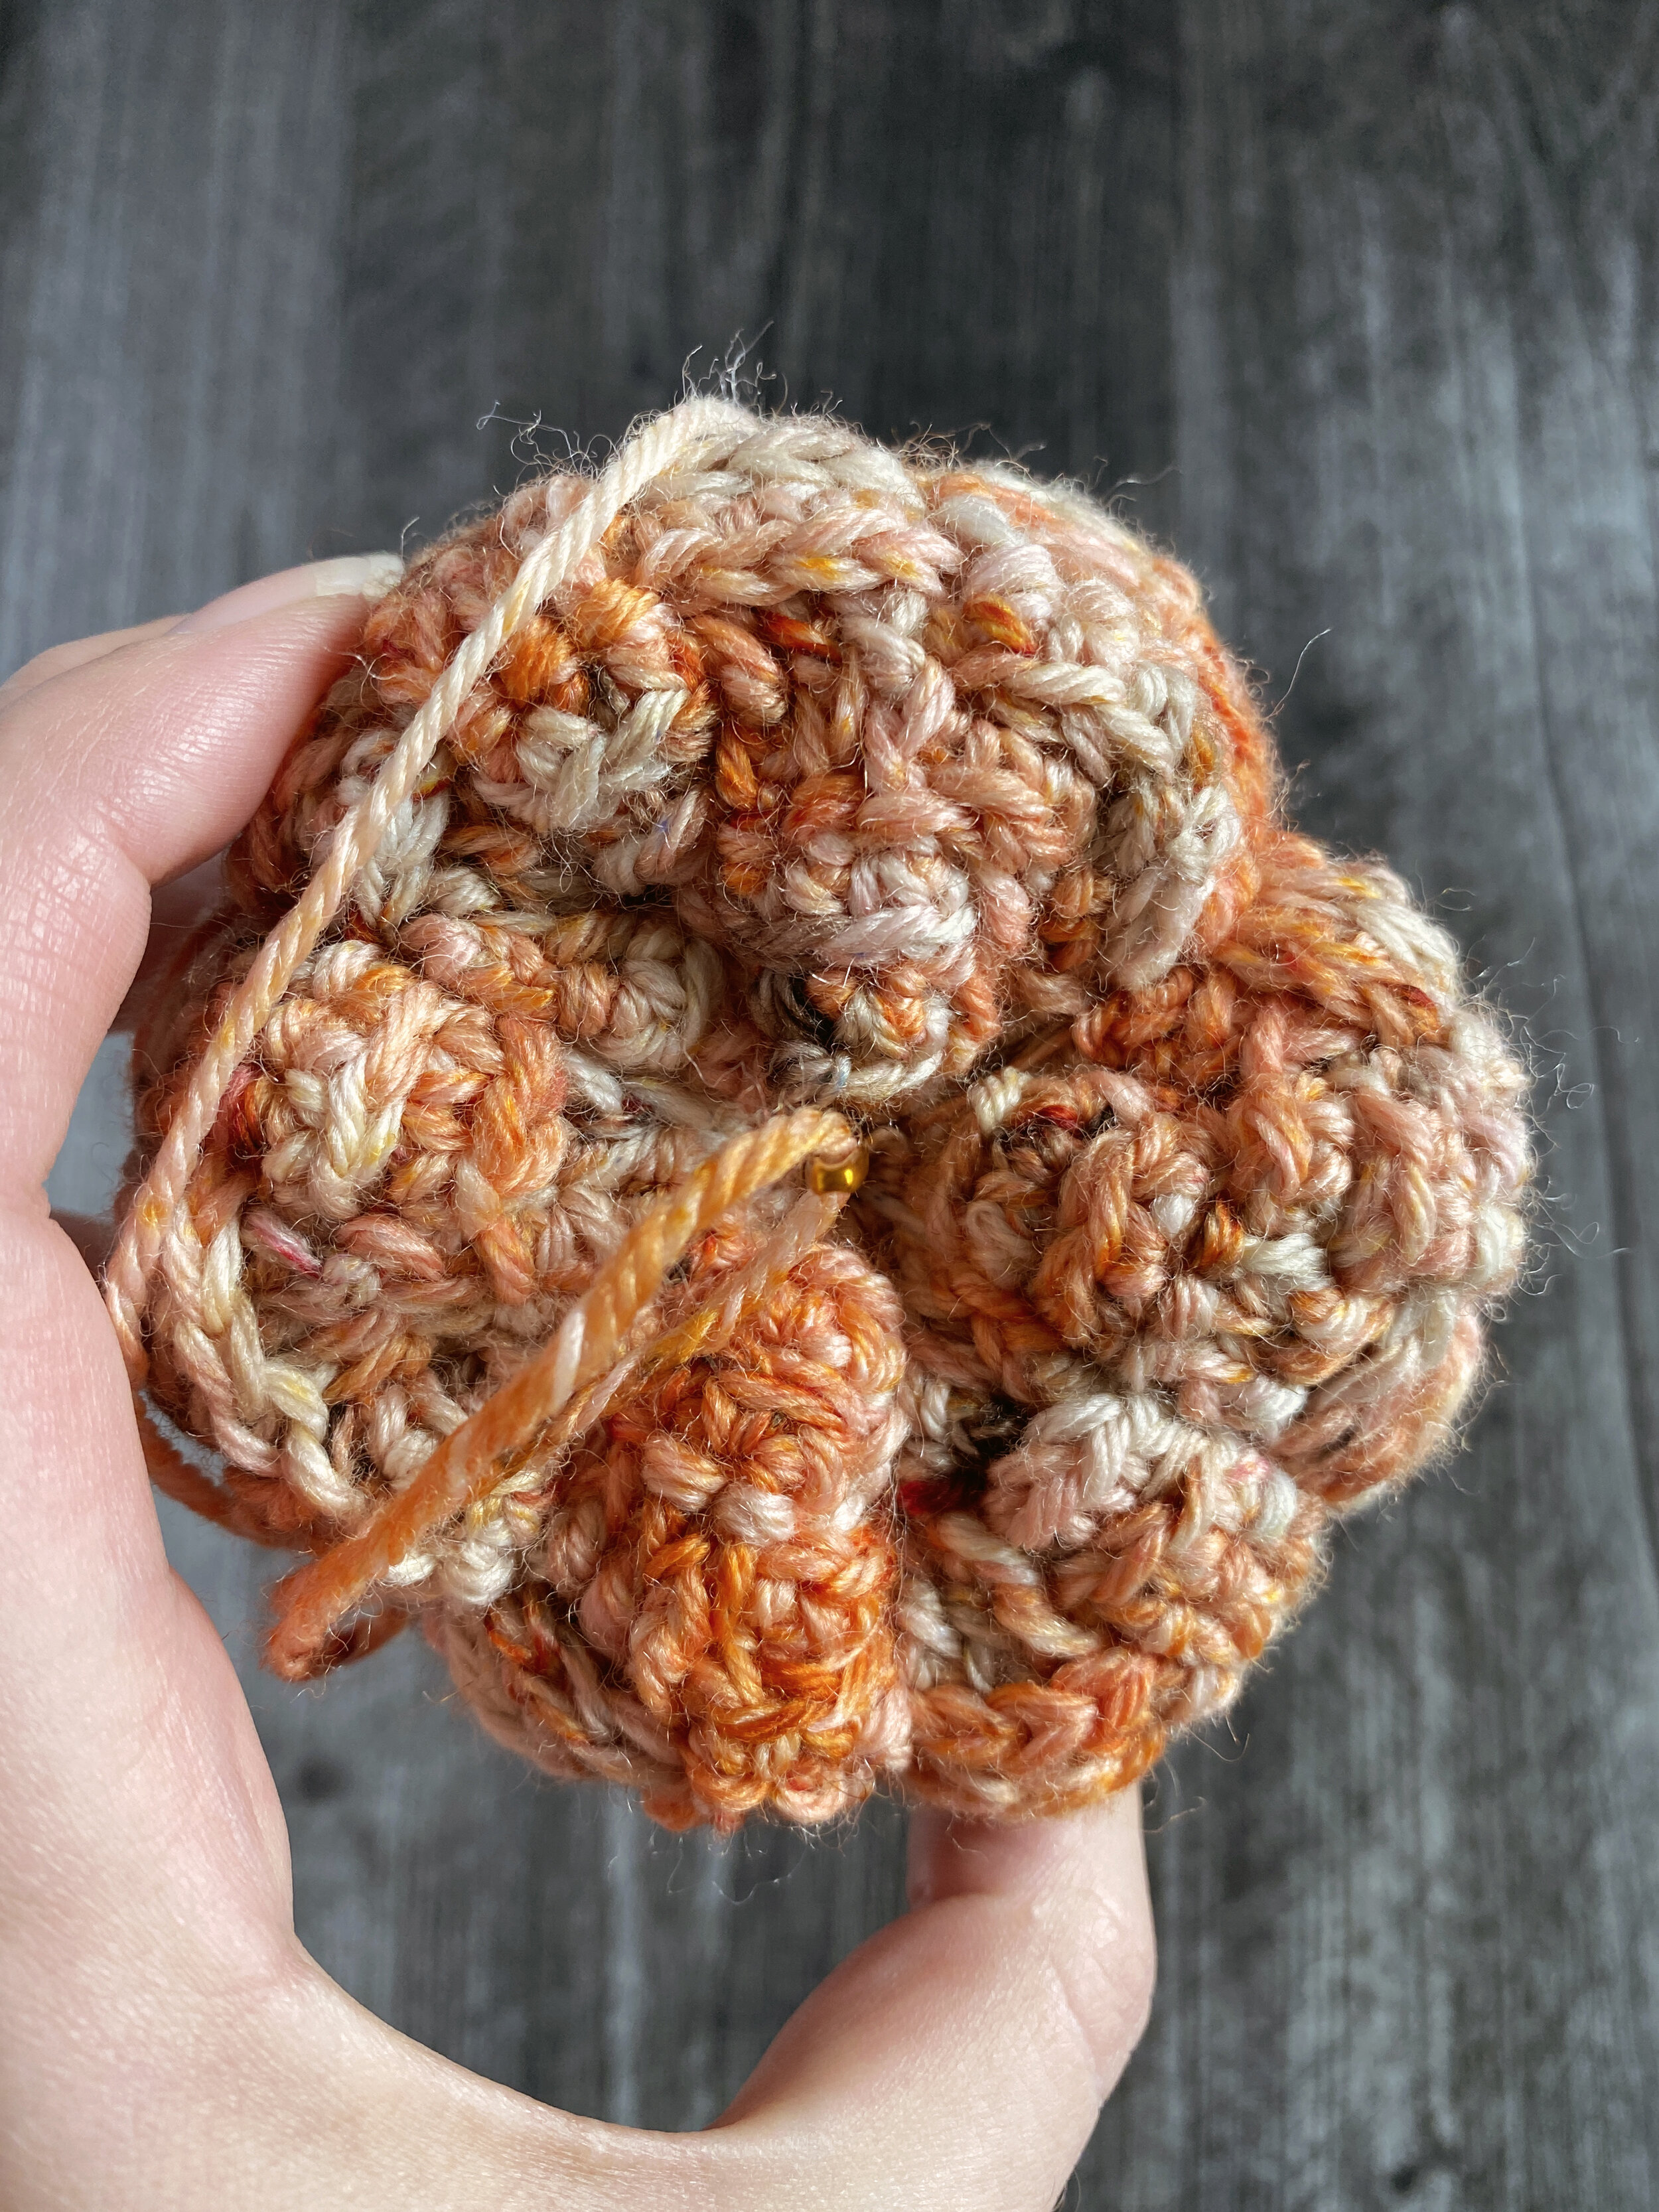
4) Time to close! Weave your remaining tail through every other stitch across the top opening.
5) Cinch closed and sew the hole closed, but do not weave in your end.
6) Using your tapestry needle, wrap your yarn around one side of your pumpkin. Bring the tail up through the center and pull to form the first bump in your pumpkin. Bring your tail across and wrap around the other side again, pulling your tail up through the center once more. Repeat until you have the desired number of bumps in your pumpkin. Our sample has 6 bumps.
7) Fasten off and tuck the yarn end inside your pumpkin at the center.

Pumpkin Stem
ROW 1: Using your brown, worsted weight yarn, CH 6.
ROW 2: Working the hook into the second CH from the hook, SC. SC in each of the next 4 STS.
Fasten off, do not weave in ends; these will be used to attach your stem to your pumpkin.
Sew stem to the top of your pumpkin.
